
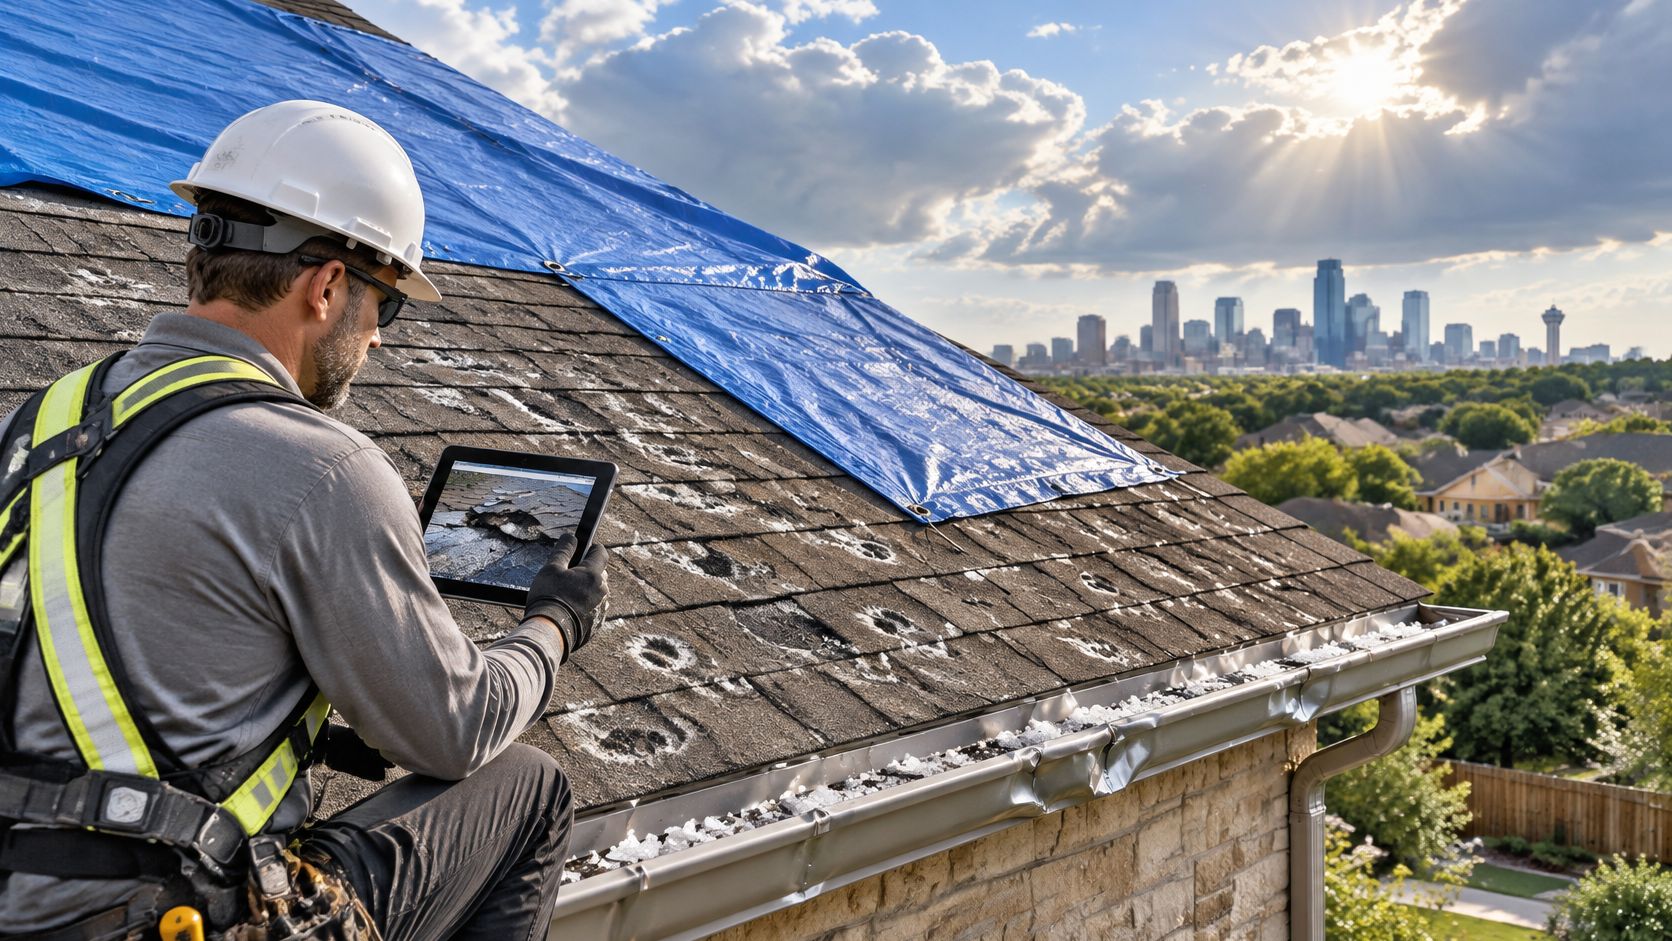
Storm Damage Roof Repair in Fort Worth: A 2026 Guide
After a hailstorm rolls across Tarrant County overnight, you find granules in the gutters the next morning. The roof looks fine from the street, but a ceiling stain or a lifted shingle may tell a different story. The first weeks matter: protect the house, record what happened, and decide whether the damage justifies an insurance claim before permanent repairs erase evidence.
Table of Contents
- Storm Damage Roof Repair Timeline at a Glance
- How to Inspect a Roof After a Storm
- Emergency Tarping Before the Adjuster Arrives
- Documenting Damage and Deciding Whether to File
- Repairing or Replacing Your Storm-Damaged Roof
- Permits and Local Rules in Fort Worth and Nearby Cities
- Confirm the Next Step Before Work Starts
Storm Damage Roof Repair Timeline at a Glance
Texas storms are a recurring property-management concern, not a once-in-a-generation event. In the 1980–2024 record of U.S. billion-dollar disasters, Texas experienced 190 qualifying disasters, and severe storms represented 66% of the state's total. Nationally, severe storms accounted for 203 billion-dollar events, half of all such disasters, according to Climate Central's analysis of billion-dollar disasters. Those figures describe broad economic damage, not a typical roof-repair bill, but they show why it pays to know your next steps before a storm hits.
| Window | Action | Why It Matters | Who Leads |
|---|---|---|---|
| Hours 0–24 | Stay clear of hazards, take ground-level photos, and check for active leaks | Establishes the condition safely and catches water entry early | You |
| Days 1–3 | Tarp openings and move contents away from leaks | Limits secondary water damage | You or a tarping contractor |
| Days 1–7 | Notify your insurer and open a claim if the damage justifies it | Policies set deadlines for prompt notice | You |
| Days 3–10 | Arrange a roofer inspection with test squares and written findings | Creates a record the adjuster can compare against | Licensed roofing contractor |
| Weeks 2–4 | Attend the adjuster inspection and work toward an agreed scope | Sets covered line items and the payout | Insurer adjuster and your contractor |
| Weeks 3–8 | Complete repair or replacement, permits, and final inspection | Restores watertight performance | Contractor and city building department |
Treat the windows as a working sequence, not guaranteed appointments. A busy insurer may take longer to schedule an adjuster after a large storm, and a contractor's calendar can fill quickly. Keep moving on the steps you control: document the condition, prevent further damage, and get written findings before authorizing permanent work.
How to Inspect a Roof After a Storm
Wind and hail accounted for approximately 41.5% of homeowners-insurance claims from 2018 through 2022, the largest major category of reported property losses, according to U.S. News' review of common homeowners-insurance claims. Damage can extend beyond shingles to gutters, siding, windows, flashing, and interior spaces. Start from the ground. Don't climb onto a wet or steep roof to prove a point.
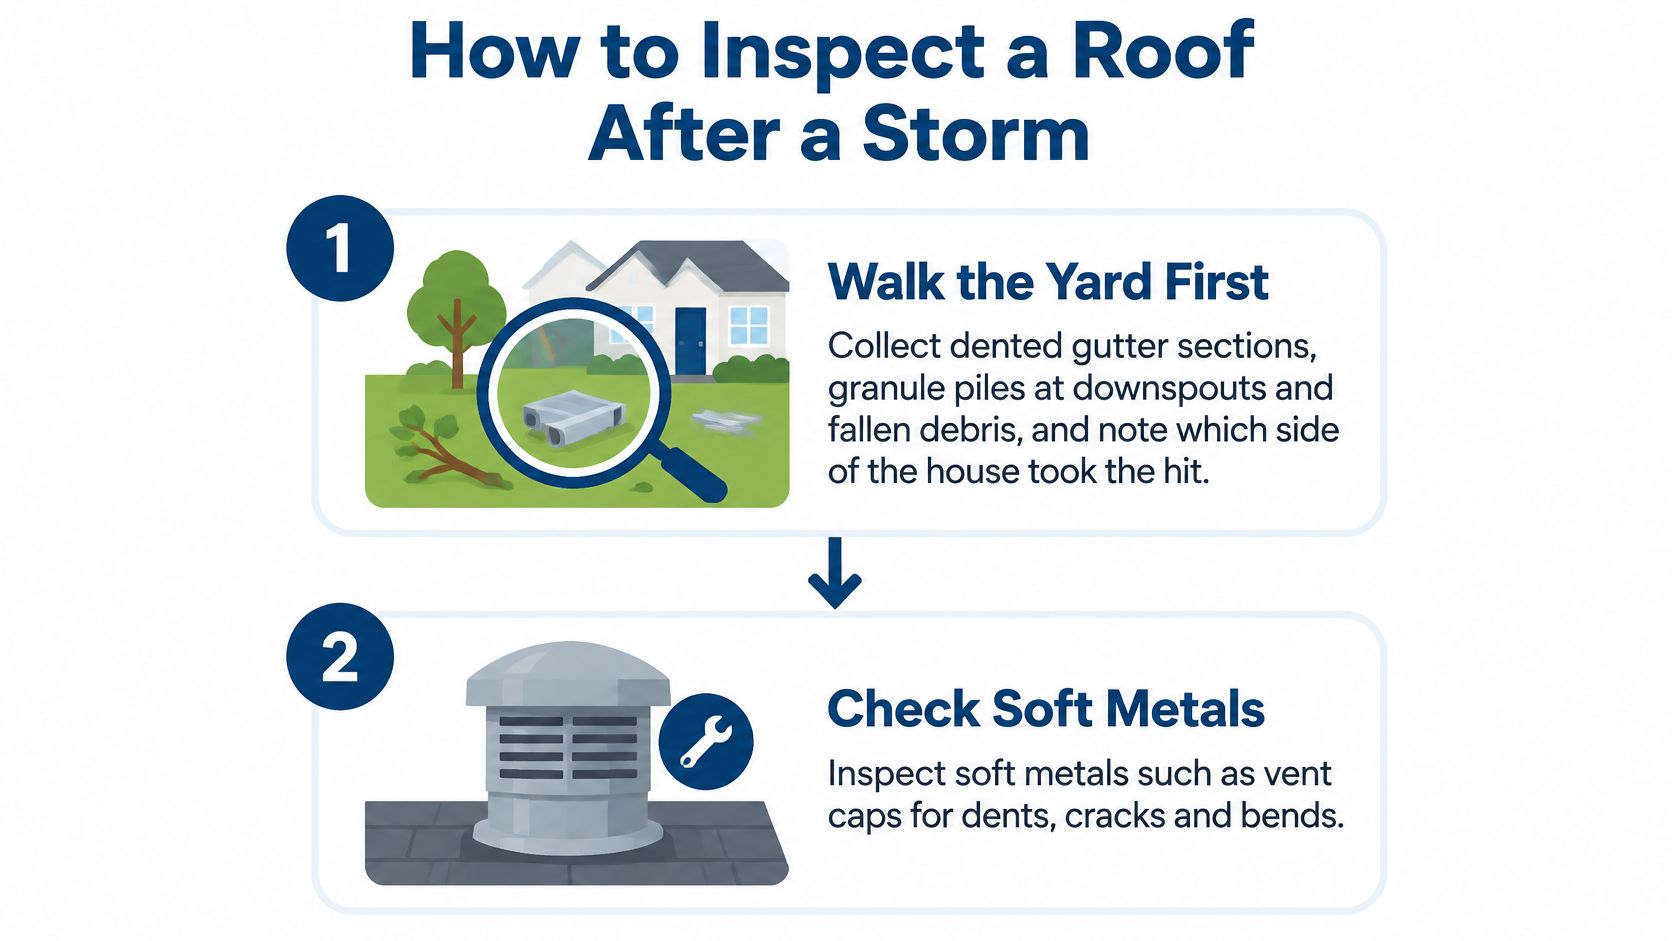
Walk the yard first. Look for dented gutter sections, piles of granules near downspouts, and fallen branches or other debris. Note which side of the house appears to have taken the hit, and photograph what you find before moving anything.
Check soft metals. Inspect vent caps, ridge vents, drip edges, and outdoor AC fins from a safe position. Round dents or dings can help show where hail struck, though dents alone don't prove the roof covering is damaged.
Look over the shingles without stepping onto the roof. Use binoculars, a safe ladder position at the eave, or a contractor's close-up photos or drone images. Watch for creased or cracked tabs, exposed black asphalt, lifted edges, and bruised spots.
Inspect the details around penetrations. Look for bent or pulled flashing near chimneys, vents, skylights, and valleys. A small separation around flashing can let in water even when nearby shingles look intact.
Check the attic. With a flashlight, look for daylight through the decking, dark water marks, damp insulation, and staining near rafters. If you find an active leak, protect the room below and arrange temporary mitigation.
Ask a roofer to document test squares. Contractors commonly mark a 10-by-10-foot area on each slope and record hail hits there. Some insurers look for roughly eight or more hits per square, but their thresholds differ, so ask the adjuster what evidence the carrier uses.
Tell an impact mark from ordinary wear
A hail hit is usually a round dent or bruised spot, with granules knocked loose around the center. Press gently on the spot only if you can reach it safely: a damaged mat may feel soft. A blister is more like a raised, smooth bubble without an impact crater; age-related wear tends to be broad and even, without a dent or soft bruise underneath.
Photograph each slope in a wide shot, each damaged area from mid-range, and close-ups that include a tape measure or coin for scale. Label the images by location and date. Clear, consistent photos help a roofer and adjuster compare the same damage rather than argue over a vague close-up.
Emergency Tarping Before the Adjuster Arrives
A tarp is for stopping water, not fixing the roof. If you see an opening, exposed underlayment, or water entering the home, temporary protection can limit further damage while you arrange an inspection. Don't risk a fall to install it yourself.
Choose the temporary fix for the damage
| Damage Found | Temporary Fix | Avoid |
|---|---|---|
| Missing shingles and exposed underlayment | Tarp the area, extend it 4–6 feet past the damage, and fasten battens into decking | Nailing through shingles that the claim depends on |
| Puncture from debris | Cover with plywood or a tarp, securing battens into sound decking | Relying on roofing cement alone, which may hide evidence and fail in wind |
| Bent or lifted flashing | Tarp over the flashing and secure the edge | Bending flashing back into place before taking photos |
| Ceiling stain or bulge | Place a bucket, move contents, and drain the bulge into a container | Puncturing a wet ceiling without a catch basin |
| Steep, wet, or high-pitch roof | Call a tarping contractor and keep the area clear | Climbing a wet or steep roof alone |
If the roof is safe to reach, use a heavy-duty poly tarp large enough to extend several feet beyond the damaged area, along with 1-by-4 or 2-by-4 battens, a drill, and roofing screws or nails. Run the tarp over the damage and, where possible, up and over the ridge. Secure the upper edge first, then the sides, fastening into sound decking rather than into intact shingles you may need inspected.
Photograph the damage before covering it, then photograph the tarp in place. Keep dated receipts for materials and labor, and confirm with your insurer whether emergency mitigation costs are reimbursable under your policy. Temporary protection is usually the sensible first move; permanent repairs can generally wait until the adjuster has inspected, unless water keeps coming in.
For active interior leaks, don't focus only on the roof opening. Move belongings, collect standing water, and dry affected areas promptly. This practical guide to drying water damage after roof leaks can help you reduce further damage inside while the roof is being protected.
Documenting Damage and Deciding Whether to File
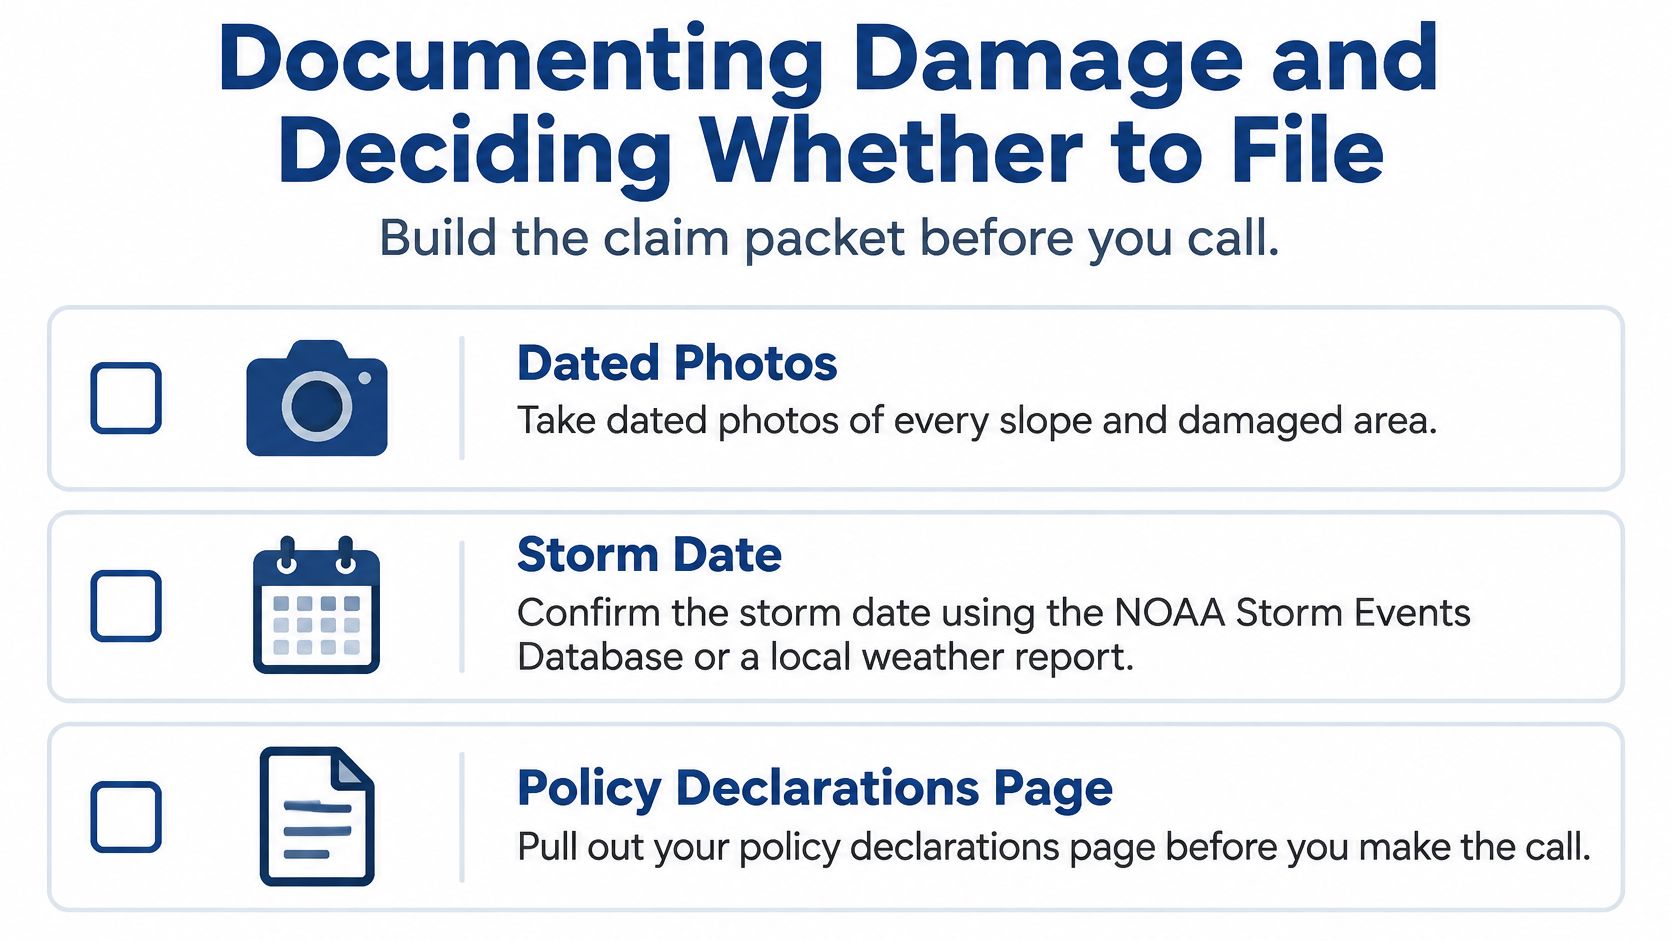
Build your claim packet before you call. An inspection is useful evidence, but it isn't a coverage decision; the insurer determines whether the cause and repairs are covered under your policy.
- Dated photos: Photograph each roof slope, damaged detail, and any interior leak or stain.
- Storm date: Confirm the date using the NOAA Storm Events Database or a local weather report.
- Policy declarations page: Check the wind-and-hail deductible. In Texas, it may be calculated as a percentage of dwelling coverage rather than a flat amount.
- Written roof inspection: Ask for findings by slope, test-square counts, and a clear distinction between storm damage and pre-existing wear.
- Interior evidence and receipts: Save photos of water intrusion and receipts for reasonable emergency mitigation.
Verisk reported that average U.S. residential roof repair costs reached $4,699 in 2025, while average replacement costs reached $17,631. The same report found that non-catastrophic wind and hail claims grew from 17% to 25% of residential claims between 2022 and 2024, according to Insurance Business' coverage of Verisk's findings. Those are national figures, not a quote for your house, but they underline why it's worth comparing a documented repair estimate with your deductible rather than filing automatically.
Run the deductible math first
Suppose your home has a 1% wind-and-hail deductible on $300,000 of dwelling coverage. The deductible is $3,000. If a roofer estimates the repair at $2,400, the loss is below the deductible, so the claim would pay nothing under that calculation. Filing may add administrative hassle without providing a payment.
With a $4,699 repair estimate, the simple difference after that deductible is $1,699, before any depreciation or other policy adjustments. That does not guarantee payment. Ask the insurer what evidence supports acceptance or denial, and check whether the estimate covers the same work as the roofer's scope.
A claim may be the wrong move when the likely cost is below the deductible, the marks are cosmetic, the cause appears excluded, or the roof has substantial prior deterioration. Don't label worn shingles as hail damage or rush into permanent repairs before documentation, unless you need to stop an ongoing leak. A credible record makes a legitimate claim easier to assess; overstating damage can undermine it.
Repairing or Replacing Your Storm-Damaged Roof
| Criterion | Repair Makes Sense | Replacement Makes Sense |
|---|---|---|
| Area of damage | Localized, under roughly a quarter of the roof slopes | Widespread across most slopes or several elevations |
| Roof age | Well within its expected service life | Near the end of its expected service life |
| Shingle condition | Tabs lift without cracking | Tabs crack under the lift test or are too brittle to replace |
| Matching product | The same or a close match is still in production | Product is discontinued and the mismatch would show from the street |
| Decking and attic | Dry, sound decking with no active leaks | Soft or rotted decking, widespread attic stains, or leaks in several rooms |
| Insurance payout | Repair estimate is well below the replacement estimate | Repair cost is near replacement cost, or code upgrades add scope |
The practical rule is straightforward: repair localized damage when the roof still has useful life; consider replacement when damage is widespread or the roof is already near the end of its service life. No single factor settles it. The damaged area, shingle flexibility, product availability, deck condition, and scope all matter together.
Consider a 12-year-old architectural asphalt roof with six hail-damaged test squares on the west slope. If the decking is sound and the same shingle is still in production, a targeted repair may restore the roof without replacing undamaged slopes. A contractor can explain any visible color difference and whether nearby tabs can be lifted without breaking.
Now compare a 22-year-old three-tab roof with damage on most slopes, brittle shingles, and no matching product available. A repair may leave a patchwork roof and cause collateral breakage during installation. To check flexibility, a roofer can gently lift a tab in cool morning conditions. If it cracks, repair may be impractical because surrounding shingles could break as well.
A storm can affect the rest of the exterior, too. If hail or debris damaged the walls, gutters, or trim, compare that scope with a contractor who handles siding as well as roofing; for example, you can review options for restoring storm-damaged siding.
Before work starts, compare the insurer's estimate with the contractor's written scope, line by line. Actual cash value policies deduct depreciation, which can leave the first payment short of the replacement estimate. A replacement cost policy may hold back part of the payment until the work is complete and documented. Local code upgrades can add work to the scope, so ask who will identify and document them before you approve a contract.
Permits and Local Rules in Fort Worth and Nearby Cities
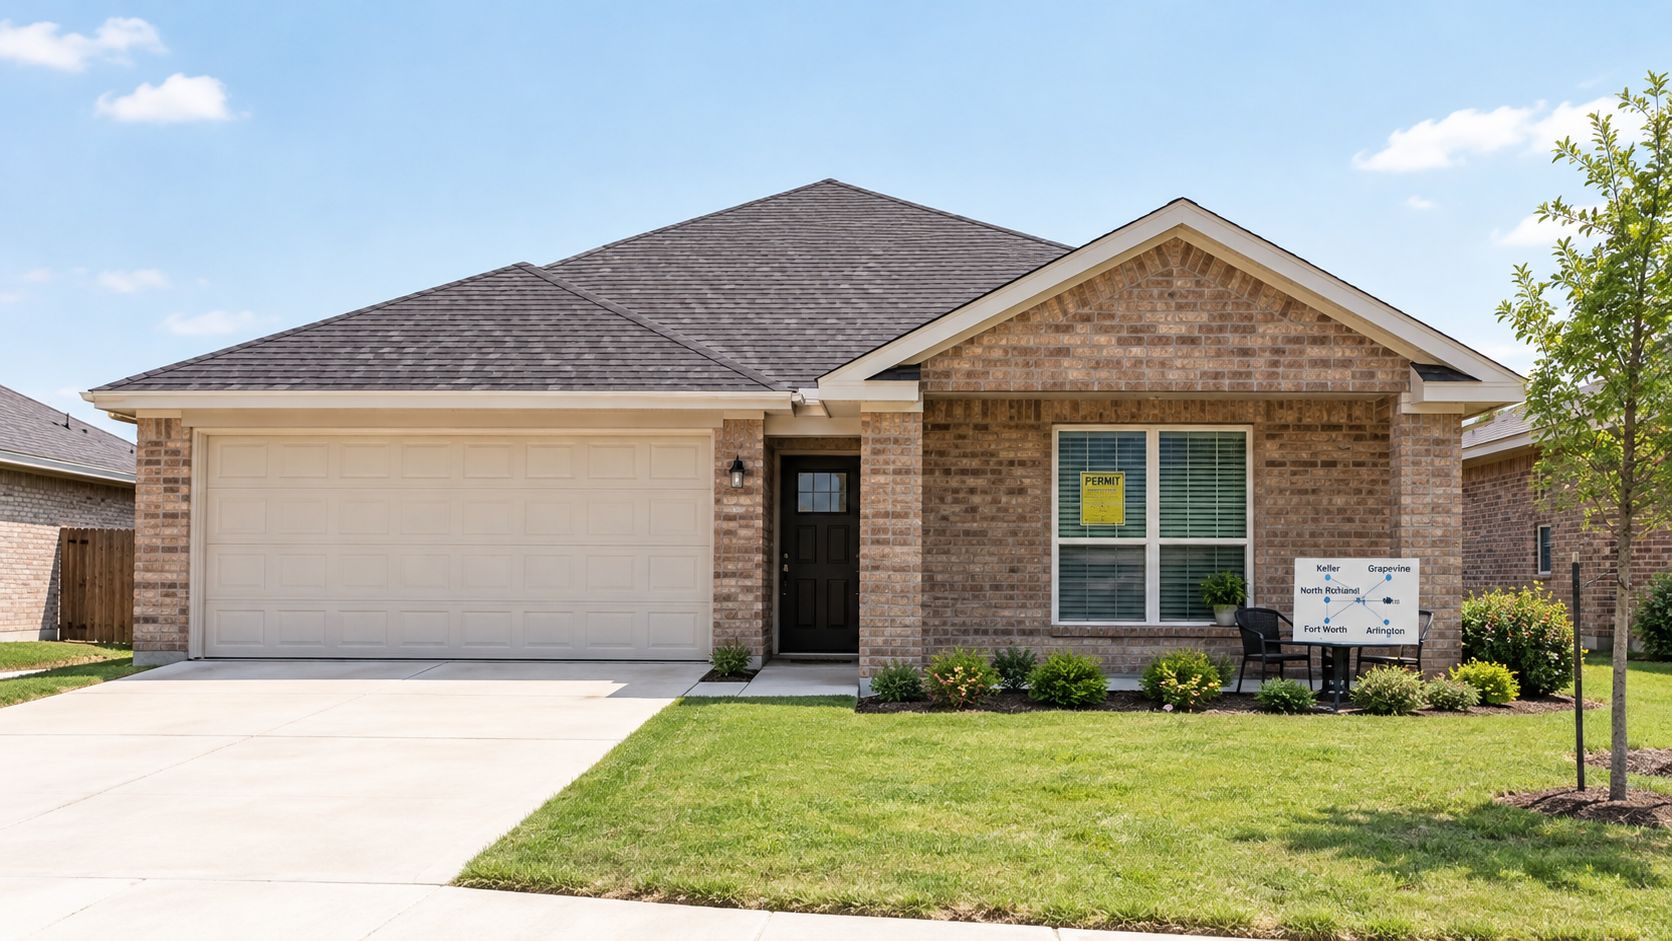
Start with the property's actual address, not its mailing address. A home may fall under a city or county building department, and the 2020 Texas metropolitan-area map shows the Dallas–Fort Worth–Arlington area alongside the Fort Worth–Arlington–Grapevine and Dallas–Plano–Irving urban components. For storm-damage roof repair, check the rules for the jurisdiction that governs the property.
Before crews arrive, confirm whether the home is within city limits or in an unincorporated area. Then ask the relevant department whether the planned repair or replacement requires a permit, who must obtain it, and whether an inspection is required.
- Confirm the jurisdiction. Contact the city or county responsible for the property.
- Ask about permits. Confirm requirements for the specific repair or replacement and establish who will handle the application.
- Check the contractor. Request current licensing and proof of local insurance, and ask for nearby references from recent storm work.
- Review HOA rules. Planned communities may set limits on shingle colors, materials, or installation details.
- Put the scope in writing. Confirm the included work and who will meet the inspector before scheduling begins.
Be wary of door-to-door sellers who demand an immediate signature, offer to cover or waive your deductible, or ask you to sign over insurance benefits without explaining the paperwork. Treat a deductible-waiver or rebate offer as a red flag. Verify the contractor's local address, licensing, and insurance before signing, and make sure you understand any assignment paperwork.
Blue Lake Roofing & Remodeling is a family-owned contractor based in Forest Hill and serving Tarrant, Collin, Denton, and Dallas counties. Operating in the area since 1995, the company uses its own licensed local crews, is familiar with local codes and permitting, and offers free on-site inspections.
Confirm the Next Step Before Work Starts
The next step depends on the damage and the roof's remaining life. If water is entering, arrange tarping and contact a roofer promptly to limit damage inside the home.
For widespread damage or a roof near the end of its life, file a claim only if the expected scope makes it worthwhile. Ask for the proposed replacement scope in writing, and check whether your policy pays actual cash value or replacement cost. For localized damage on a roof with useful life left, request a line-item repair scope and compare it with the adjuster's estimate.
If damage appears cosmetic or the likely repair cost falls below the deductible, filing may not make sense. Keep photos and inspection notes, then compare the estimated repair cost with the deductible before deciding.
Before permanent work begins, get the scope in writing and confirm the payment schedule, permit responsibility, warranty terms, and who will meet the adjuster. A vague scope can leave documented damage out of the job.
To have damage documented and the repair or replacement scope checked against the adjuster's estimate, contact Blue Lake Roofing & Remodeling for a free on-site inspection before permanent work begins.
