
Scuppers and Downspouts in DFW: A Local Guide
A summer storm rolls across Fort Worth, and water starts spilling from the roof edge faster than the building can carry it away. Inside, ceiling stains appear near a parapet wall, a tenant calls about a leak, and the facility manager discovers that the primary drain is covered with windblown debris. The roof may look intact from the parking lot, but a blocked outlet can turn ordinary drainage into a structural and waterproofing problem.
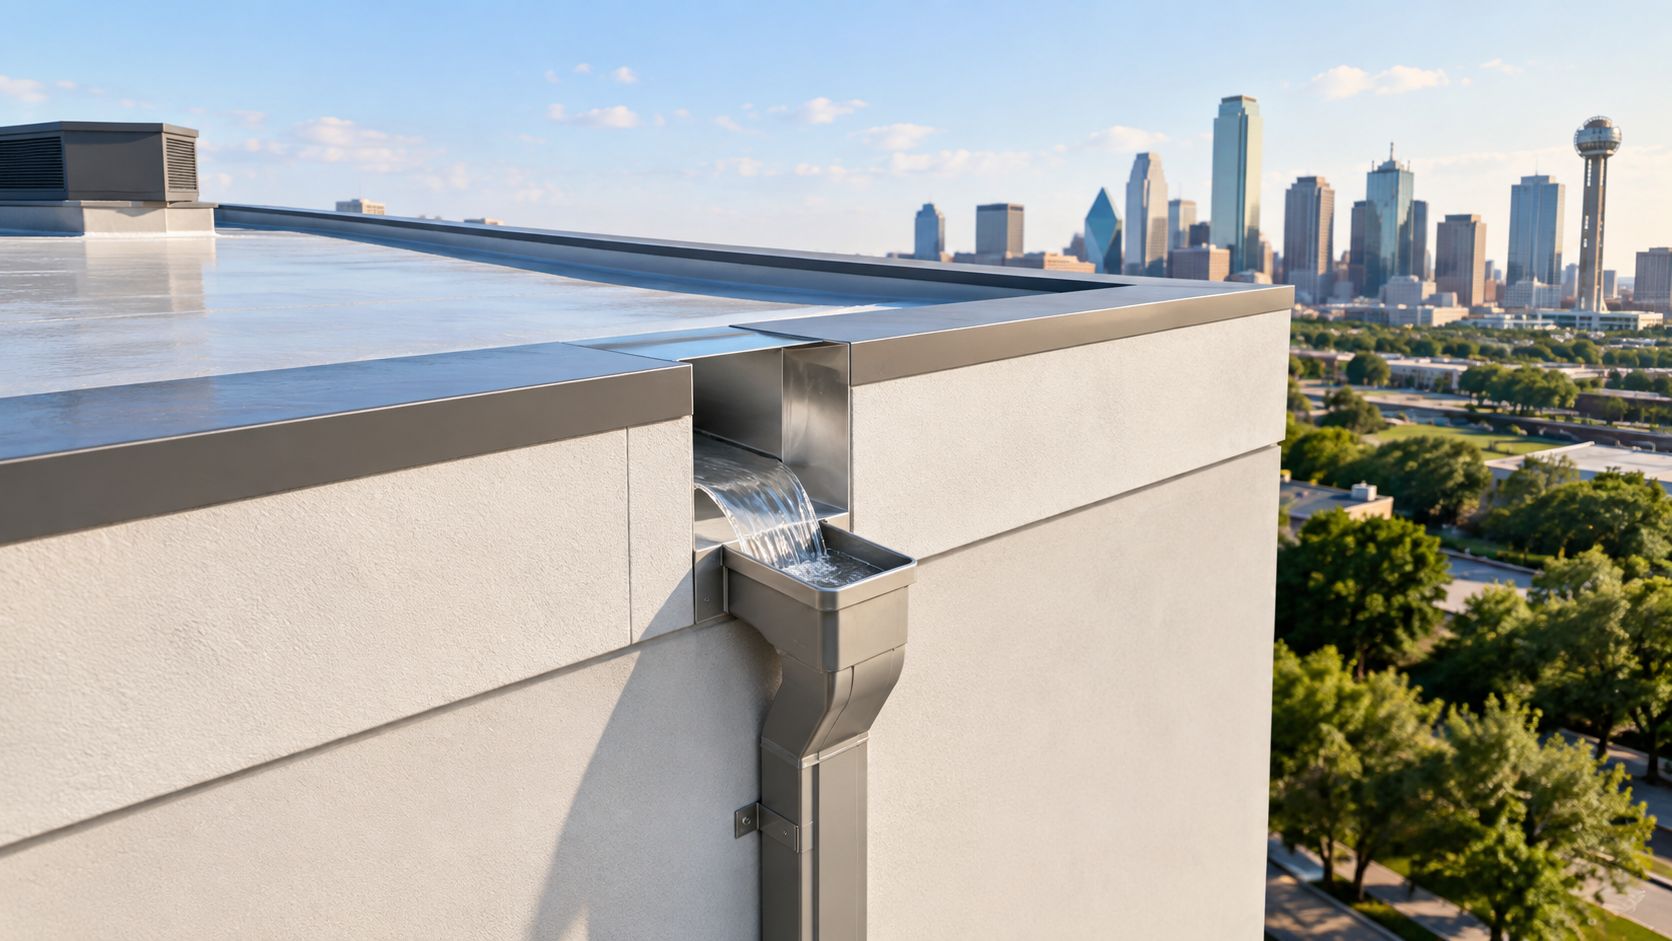
On flat and low-slope commercial roofs, scuppers and downspouts work as a drainage system, not as isolated accessories. The scupper creates an exit through the parapet. The downspout, conductor head, or gutter carries that discharge away from the wall and foundation. If one part is undersized, poorly flashed, clogged, or allowed to discharge against the façade, the roof may shed water while the building still takes damage.
Table of Contents
- Why Roof Drainage Matters in Fort Worth Storms
- Understanding Scuppers and Downspouts Together
- Sizing and Placement Rules for DFW Roofs
- Primary Drains vs Overflow Scuppers
- Applying Drainage Design to Local Cities
- Maintaining Your Scuppers and Downspouts
Why Roof Drainage Matters in Fort Worth Storms
A DFW storm tests every weak point at once. Rain reaches the roof, leaves collect around outlets, wind pushes water toward parapets, and runoff concentrates at the same corners where flashing and wall joints must stay watertight. A system that performs adequately in light weather may struggle when debris blocks the primary path and the roof begins to pond.
Standing water creates more than an inconvenience. It can place additional demand on the roof structure, keep the membrane wet, and push water against parapet details that were designed to shed runoff, not hold it for an extended period. If water reaches a failed seam, penetration, or flashing transition, the leak may travel through insulation or wall cavities before anyone sees a ceiling stain.
This is why roof drainage belongs in the same conversation as broader property runoff. Owners who want a clearer explanation of how roofs, paved areas, soil, and discharge routes interact can review this practical resource on what is stormwater management exactly before making changes around a building.
The damage often starts at the edge
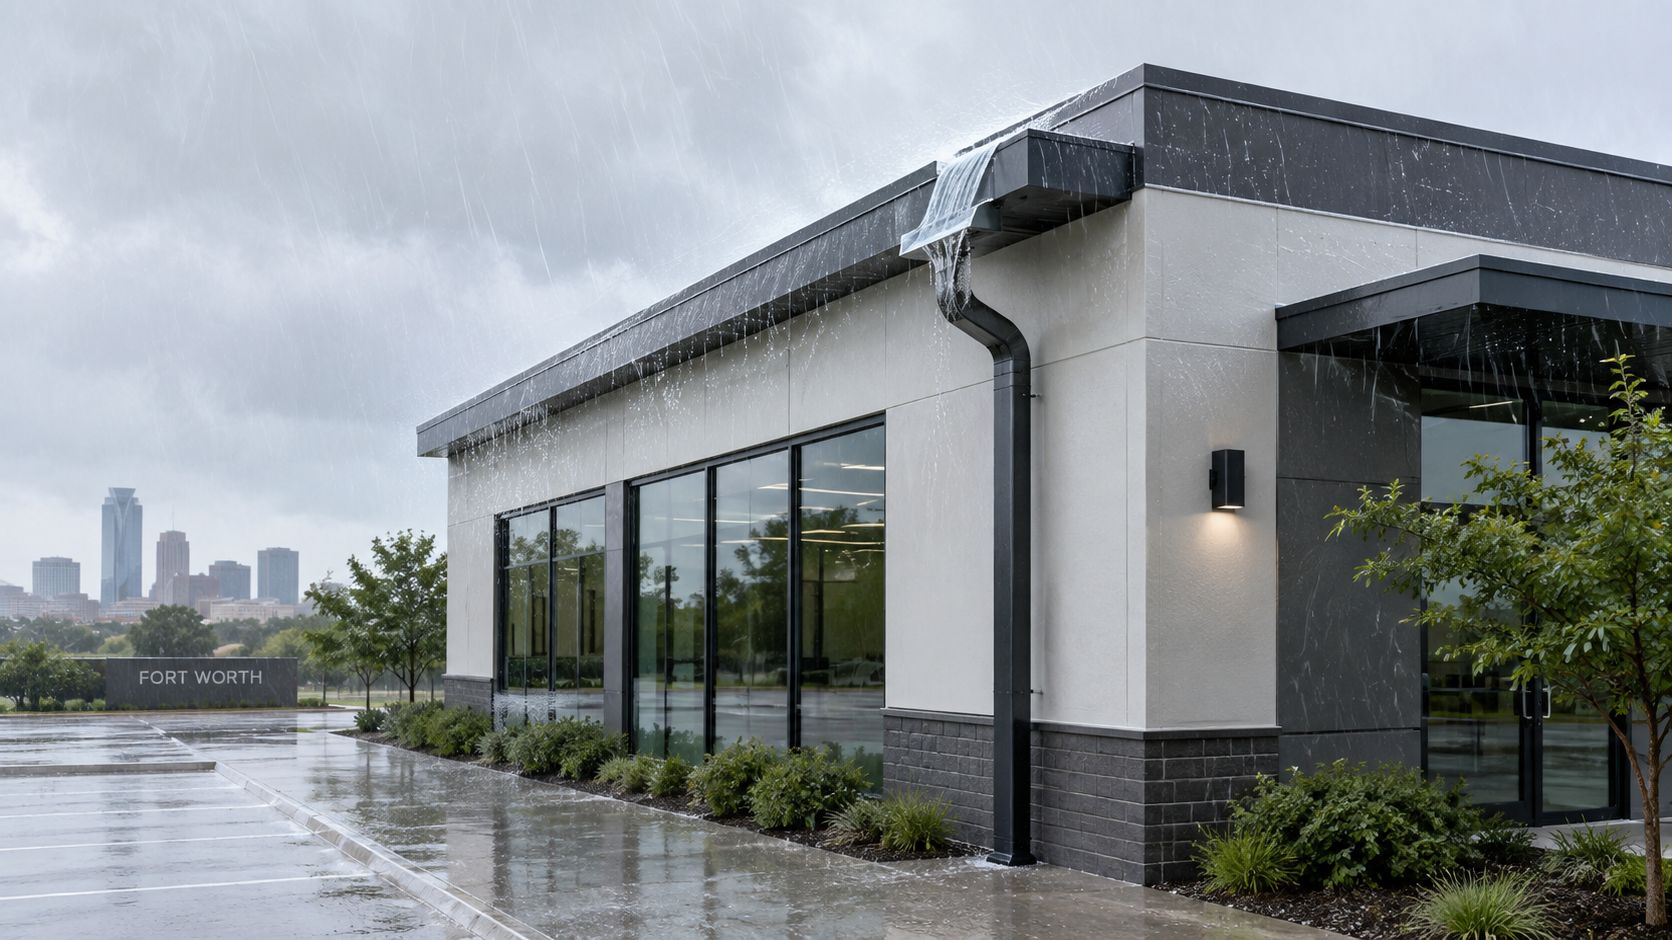
A free-discharge scupper can send a concentrated sheet of water down brick, stucco, metal panels, or painted masonry. Over time, that runoff may leave staining, wet the wall assembly, erode landscaping, or direct water toward the foundation. A downspout or conductor head doesn't merely improve appearance. It controls where the water lands.
For commercial owners in Fort Worth, Arlington, Irving, Plano, and other DFW communities, the practical question isn't whether a roof has an outlet. It's whether the entire route from roof surface to final discharge remains open, supported, flashed, and appropriate for the building.
Practical rule: A roof outlet is only as reliable as the discharge path connected to it.
Understanding Scuppers and Downspouts Together
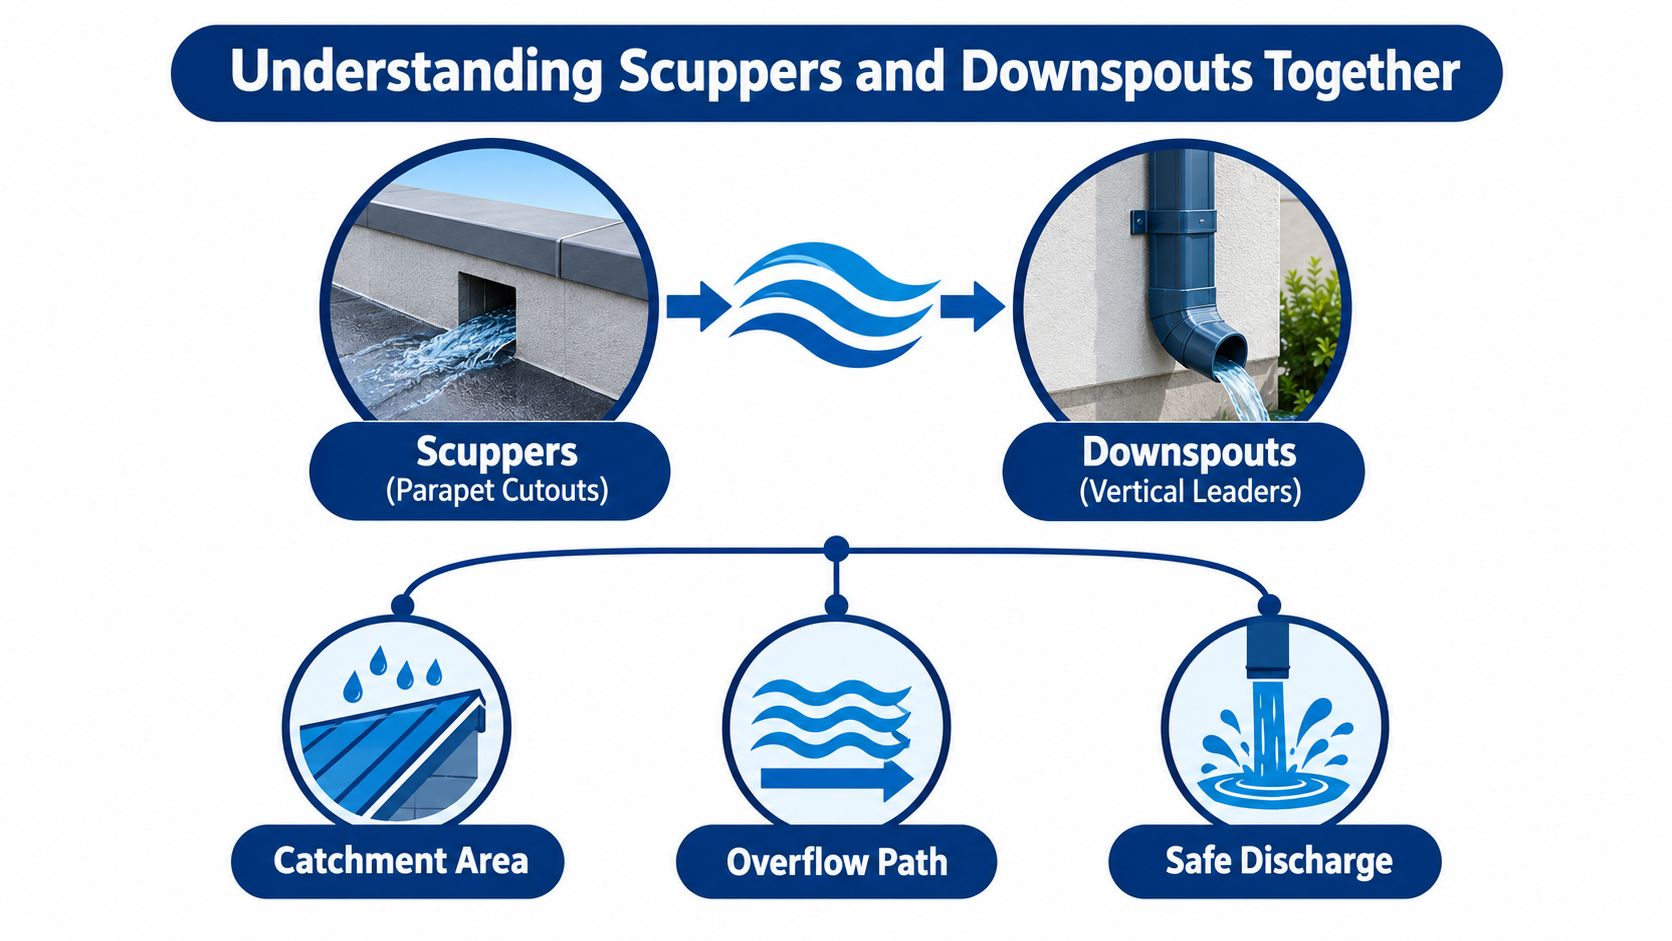
A scupper is an opening through a parapet wall that lets water leave the roof. It may discharge directly beyond the wall, flow into a gutter, or empty into a conductor head that transitions into a downspout. A downspout, also called a vertical leader, carries water down the exterior and directs it toward a controlled discharge point.
That relationship matters because a scupper without a suitable leader can move water off the membrane while concentrating damage on the wall. A downspout without an adequate scupper or gutter connection can't collect the roof area it serves. The roof surface, outlet, transition, vertical pipe, and ground-level discharge must be treated as one path.
A long-standing building-protection system
The need to move roof water away from walls is older than modern membranes and plumbing. The National Park Service notes, through the historical record reproduced in this roof drainage reference, that the Tower of London is believed to have erected a downspout in 1240, likely to protect its whitewashed walls. The same preservation-focused history identifies the K-style gutter as becoming standard in the 1940s.
The lesson isn't that an old building used a modern commercial detail. The lesson is that exterior drainage has always served two purposes: removing water from the roof and protecting the building below it. Modern systems add engineered sizing, flashing, overflow routes, and controlled discharge, but the basic objective remains the same.
Follow the water from collection to discharge
A useful inspection follows the water in sequence:
- Catchment area: Identify which roof surface drains toward each opening, gutter, or internal drain.
- Scupper opening: Check whether the opening is clear and whether its flashing is integrated with the roof membrane.
- Conductor head: Confirm that the transition can receive the scupper flow without backing up.
- Downspout: Look for crushed sections, loose joints, corrosion, and obstructions.
- Final discharge: Make sure water leaves the wall and foundation area instead of pooling beside the building.
The visible pipe isn't proof that the system works. A downspout can look sound while a blocked conductor head holds water at the parapet. Likewise, a large scupper can still underperform if its outlet, flashing, or receiving gutter is too small.
Sizing and Placement Rules for DFW Roofs
Sizing starts with the roof area and design storm, not with the appearance of the wall opening. Industry guidance commonly sizes roof drainage systems using SMACNA recommendations based on a 10-year storm. The selected outlet must also account for the roof slope, catchment area, downstream conductor capacity, and the building's structural limits. See the WBDG guidance on gutters, downspouts, scuppers, and drains for the integrated design principles behind these components.
Set the drainage levels deliberately
Primary drainage should remove normal rainfall without requiring significant ponding. An overflow scupper is positioned higher so it remains inactive during ordinary flow, then opens a separate relief route when the primary outlet is blocked or overwhelmed. In practice, overflow scuppers are typically set about 2 inches above the primary drain or roof level, a placement described in technical guidance on roof drainage hydraulics.
That elevation isn't a permission to ignore ponding. The roof must be checked to confirm that the resulting water depth won't exceed the structure's load rating. Greater head can increase the scupper's hydraulic capacity, but it also increases structural demand.
Space outlets according to the area they serve
Neutral federal facilities guidance notes that scuppers may need to be spaced no greater than about 10 feet apart, depending on the roof area being drained. Treat that as a design consideration, not a universal layout for every building. A contractor or engineer still needs to verify the contributing roof area and flow at each location.
For a low-slope commercial roof in Arlington, one parapet opening may not provide a reliable route for every roof section, especially if a long wall concentrates runoff at one corner. In Irving, a retrofit roof may have old openings, altered membrane slopes, or a conductor head that no longer matches the current roof assembly. The correct solution may involve additional outlets, a resized transition, or a redesigned path rather than just enlarging the visible scupper.
Protect the wall and the transition
When a scupper doesn't flow into a gutter or conductor head, its spout should project beyond the exterior face so water doesn't run directly down the wall. When a conductor head is used, WBDG guidance indicates that it should be at least 2 inches wider than the scupper to receive the flow and transition into the downspout.
Use this field checklist before approving a repair:
- Map the roof section. Determine which membrane area drains to each outlet.
- Inspect the low point. Confirm that the roof directs water toward the primary path.
- Verify the overflow elevation. Measure the overflow opening relative to the primary drain or roof surface.
- Check the receiving component. Match the scupper to the conductor head, gutter, or downspout.
- Observe the discharge. Look for wall staining, splashback, erosion, and foundation-side pooling.
A larger opening alone doesn't solve a restricted system. The scupper, flashing, conductor head, leader, and discharge area have to carry the same design intent.
Primary Drains vs Overflow Scuppers
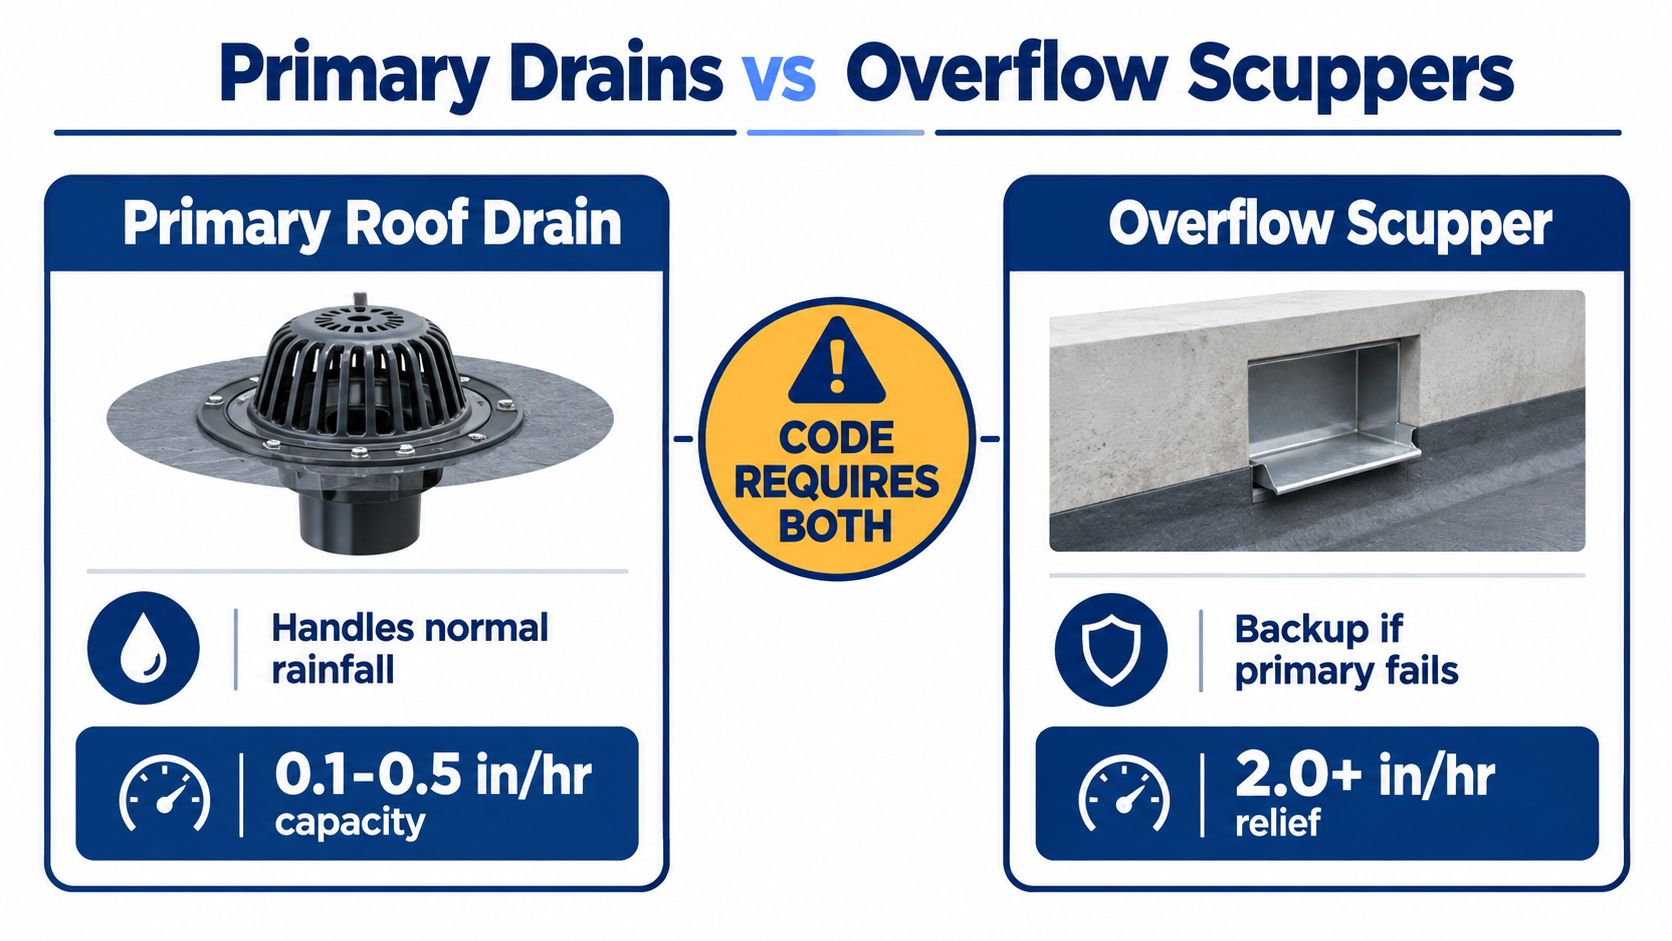
The primary drain handles normal rainfall. An overflow scupper is a backup route that limits how high water can rise when the primary system can't keep up. Confusing those roles leads to poor design decisions, especially on flat commercial roofs where a few inches of ponding can affect both waterproofing and structure.
The primary outlet should pass the design storm at relatively low head. The overflow opening must pass the same design flow at a higher ponding depth, but before water rises high enough to enter the building or overload the roof. That difference makes the overflow scupper a safeguard, not a substitute for a functioning primary drain.
The primary path
Primary drainage may use an internal drain, a roof-level scupper, a gutter, or a combination of components. Its job is to remove routine runoff while keeping the membrane and perimeter details out of prolonged water exposure.
A primary drain that clogs with leaves, sediment, or rooftop debris changes the roof's hydraulic behavior immediately. Water spreads across the surface, rises toward parapets, and begins searching for weak points. Clearing the overflow opening won't restore normal drainage if the primary inlet remains blocked.
The overflow path
Overflow scuppers are commonly placed about 2 inches above the primary drainage level, as described in flat-roof drainage guidance from the American Society of Home Inspectors. That brief ponding depth gives the primary route an opportunity to handle ordinary water while preserving a visibly separate emergency path.
The hidden risk is that owners often see the overflow opening and assume the roof has adequate protection. It doesn't, unless the opening is clear, properly flashed, structurally acceptable, and connected to a discharge route that won't damage the building.
Why open discharge can be the wrong choice
Federal and FEMA-aligned guidance generally favors terminating backup drainage in downspout heads instead of allowing open free discharge wherever practical. That preference reflects the secondary damage created by concentrated runoff. Water may stain the façade, saturate masonry, erode soil, or collect near the foundation even though the roof itself has technically relieved pressure.
A scupper spout that ends in open air can be appropriate in some designs, particularly where the discharge is safely separated from walls and occupied areas. It shouldn't be selected because it's visible or easy to install.
| Component | Primary purpose | Common failure | Better inspection question |
|---|---|---|---|
| Primary drain | Removes routine roof water | Debris or poor slope restricts flow | Does water reach the inlet without broad ponding? |
| Overflow scupper | Provides secondary relief | Opening is blocked, too low, or poorly flashed | Does it activate before water reaches vulnerable details? |
| Conductor head | Receives scupper flow | Transition backs up or leaks | Is it wider than the scupper and sealed into the leader? |
| Downspout | Carries water down the wall | Loose joints, crushing, or unsafe discharge | Where does the water go after leaving the pipe? |
Code evolution and the design lesson
Modern scupper rules developed over time. The Uniform Building Code introduced an overflow scupper option in its 1967 edition, allowing parapet-wall openings at least 4 inches high, with the inlet flow line 2 inches above the roof low point. Older code language also required overflow scuppers to be three times the area of the roof drains they backed up. The Standard Building and Plumbing Code shifted overflow design to a 15-minute, 100-year rainfall rate in 1991, then reverted to a 1-hour, 100-year rainfall rate in 2000, as documented by IIBEC's roof drainage history.
Those milestones show why a roof's age and adopted code matter. An older building may have drainage details based on a different design convention, so replacing a scupper by visual approximation can leave the roof with a mismatch between opening, head, structure, and discharge.
Applying Drainage Design to Local Cities
DFW isn't one uniform roof market. A warehouse in Fort Worth, a retail building in Plano, and a multi-tenant property in Grapevine may all use low-slope assemblies, but their parapet geometry, roof additions, drainage history, and maintenance access can differ sharply. The correct layout comes from the building's actual catchment areas and discharge conditions, not from copying a nearby property.
Fort Worth's geography makes local coverage especially important. The city is closely connected with or surrounds communities including Westworth Village, River Oaks, Saginaw, Blue Mound, Benbrook, Everman, Forest Hill, Edgecliff Village, Westover Hills, White Settlement, Sansom Park, Lake Worth, Lakeside, and Haslet, as reflected in this Fort Worth geographic reference. A facility near one of those boundaries may use a different municipal review process, even though it shares the same regional storm exposure.
Match the solution to the building
In Arlington, a commercial roof with long parapet runs may need careful outlet distribution so water doesn't travel excessive distances before reaching a scupper. In Plano and Richardson, older commercial properties may have additions, reroof layers, or altered roof slopes that change the areas each drain serves. In Grapevine, retail and office buildings may place greater emphasis on keeping discharge away from visible façades, entrances, and pedestrian routes.
Irving, Denton, Grand Prairie, Lewisville, Frisco, and McKinney also form part of the broader DFW service area. Metroplex directories identify Dallas, Fort Worth, Arlington, Plano, Irving, Denton, Richardson, and Grapevine among the principal cities, while other references describe a wider constellation of suburban communities. That pattern supports a building-specific approach, because service areas and local conditions extend well beyond a single downtown core.
Use local names, but inspect local conditions
Geo-specific planning helps owners find contractors who understand the region, but city names don't replace a roof assessment. A commercial property in Westworth Village may need a controlled conductor-head discharge because of a narrow side yard. A facility in Saginaw may have a different wall and site layout, while a home or business in Benbrook may need attention to where downspout extensions release water.
The reliable process is consistent across the metroplex:
- Document the roof plan: Mark primary outlets, overflow openings, parapets, gutters, and leaders.
- Trace each discharge: Follow water from membrane to ground, including every transition.
- Review the assembly: Confirm that flashing, membrane interfaces, and structural conditions support the proposed change.
- Coordinate local requirements: Check applicable codes, permits, and specifications before altering drainage.
That method works across Tarrant, Dallas, Collin, and Denton counties because it responds to the roof in front of you, not to a generic DFW template.
Maintaining Your Scuppers and Downspouts
A well-designed drainage system still needs active maintenance. Leaves, roofing granules, mud, and windblown litter can reduce the opening at a scupper or block the top of a downspout. Once water starts backing up, the roof's primary and overflow paths may no longer behave as designed.
Owners and facility managers should make inspection part of storm preparation rather than waiting for an interior stain. Check the roof edge, conductor heads, gutters, fasteners, seams, and discharge points. Look for rust, cracked sealants, displaced metal, wall streaking, damp masonry, and soil erosion below the leaders.
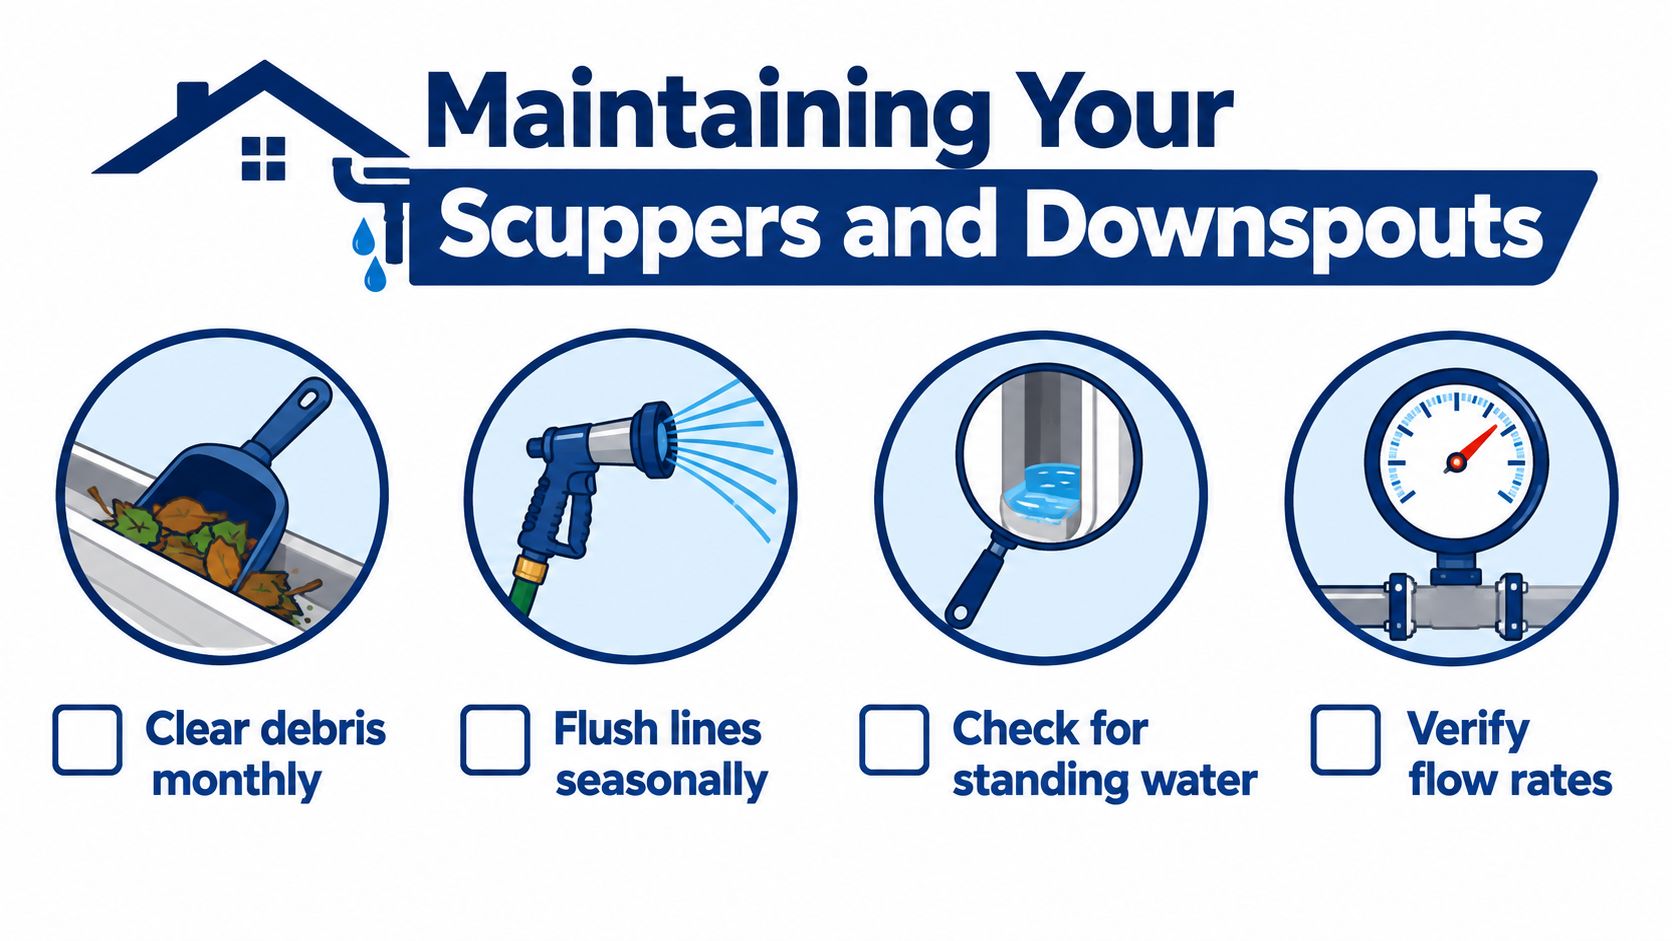
A practical maintenance routine
- Clear debris: Remove leaves and sediment from scupper throats, gutters, strainers, and conductor heads.
- Flush the route: Use controlled water to confirm that the leader carries flow without backing up.
- Inspect for ponding: After rainfall, identify areas where water remains around outlets or parapets.
- Watch the wall: Check for staining, peeling finishes, soft masonry, and moisture near scupper flashings.
- Protect the foundation: Confirm that downspout extensions release water away from the building and don't undermine nearby soil.
Don't climb onto a commercial roof during active storms or inspect a slick membrane without appropriate safety controls. A professional inspection is especially important when the roof has recurring ponding, a hidden internal drain, damaged parapet flashing, or an overflow opening that has never been tested.
Blue Lake Roofing & Remodeling provides commercial drainage inspections, roof repair, preventative maintenance, custom gutter and downspout fabrication, and roof installation support across Tarrant, Collin, Denton, and Dallas counties.
Visit Blue Lake Roofing & Remodeling to schedule an on-site inspection of your scuppers, downspouts, flashing, and roof drainage paths. Their local crews can assess storm damage, repair or replace commercial roofing systems, and develop a practical drainage solution for your DFW property.
