
Roof Leak Inspection in Fort Worth: A Complete Guide
A brown ceiling patch after a Fort Worth rain can look simple: put a bucket underneath, wait for the roof to dry, then call someone if it happens again. But the stain marks where water became visible, not necessarily where it entered. A sound roof leak inspection traces that water path, documents what the roof and interior show, and helps determine whether the right next step is a targeted repair, moisture testing, or a broader assessment.
That distinction matters in DFW, where a roof can have storm damage without an immediate indoor leak, and water can travel through roofing and framing before it appears inside. A clear record of dated photos, observed conditions, and repair priorities gives you a better basis for talking with a roofer or insurer than a quick patch based on a guess.
Table of Contents
- Why a Roof Leak Inspection Matters Before You Grab a Bucket
- Interior and Attic Signs You Can Check From Inside
- Exterior Roof Survey Walking the Drainage Path
- When Infrared and Moisture Meters Actually Help
- Post-Hail Documentation That Holds Up With Your Insurer
- Serving Fort Worth and Surrounding DFW Cities
- Next Steps, Repair Options, and Your Inspection Checklist
Why a Roof Leak Inspection Matters Before You Grab a Bucket
The first task isn't to find the nearest roof defect. It's to separate the symptom location from the water-entry location. Water can move along decking, rafters, insulation, or other materials before it reaches a ceiling, so the stain and the breach may be some distance apart.
Start by noting where the stain appears, whether it's wet or dry, and whether it changes during rain. Take a photo before cleaning or painting over it. If water is actively dripping, protect the room and address immediate safety concerns, but don't assume the roof opening is directly above the bucket.
A useful inspection connects interior evidence with what's visible in the attic and on the roof. The inspector records the affected room, moisture signs, and likely pathways, then checks relevant roof details such as shingles or membrane, flashing, penetrations, and drainage. If you're also trying to manage water inside the home, this guide on how to find ceiling leak source fast offers a useful starting point for tracing indoor signs without confusing them with the roof diagnosis.
Practical rule: Don't repair the stain or the closest visible roof defect until someone has traced the pathway. Water can travel before it shows itself.
A maintenance visit and an insurance-ready inspection aren't always the same thing. Routine maintenance may identify wear and recommend upkeep; an inspection intended to support a claim or warranty discussion should also preserve dated photographs, identify specific locations, and distinguish observed damage from suspected causes. Neither a contractor's report nor a camera image guarantees an insurer's decision, but clear documentation makes the condition easier to evaluate.
The inspection should end with practical next steps, not just a verbal opinion: what was checked, what evidence was found, what remains uncertain, and which repairs should be prioritized. That record can also help you compare later findings or explain the roof's condition to a future buyer.
Interior and Attic Signs You Can Check From Inside
Begin indoors, before anyone climbs a ladder. Walk through the rooms below the suspected roof area and note ceiling stains, bubbling paint, damp drywall, peeling finishes, musty odor, and active drips. Check around light fixtures and vent covers, at window and door corners, inside closets, and along baseboards, where moisture may travel down framing before becoming obvious.
Photograph each condition with a ruler or coin nearby for scale. Record the room and the location on the ceiling or wall, and note whether the area feels wet, looks dry, or changes after rain. A stain near a bathroom vent or an exterior wall may point toward a different pathway than one beneath a roof penetration, so location notes matter.

What the attic can reveal
If the attic is safely accessible, use a stable access point and step only on joists or designated walkways. Don't walk on ceiling drywall, and don't enter if the space has exposed wiring, unsafe footing, or conditions you can't assess. A professional inspection is a better choice when access is uncertain.
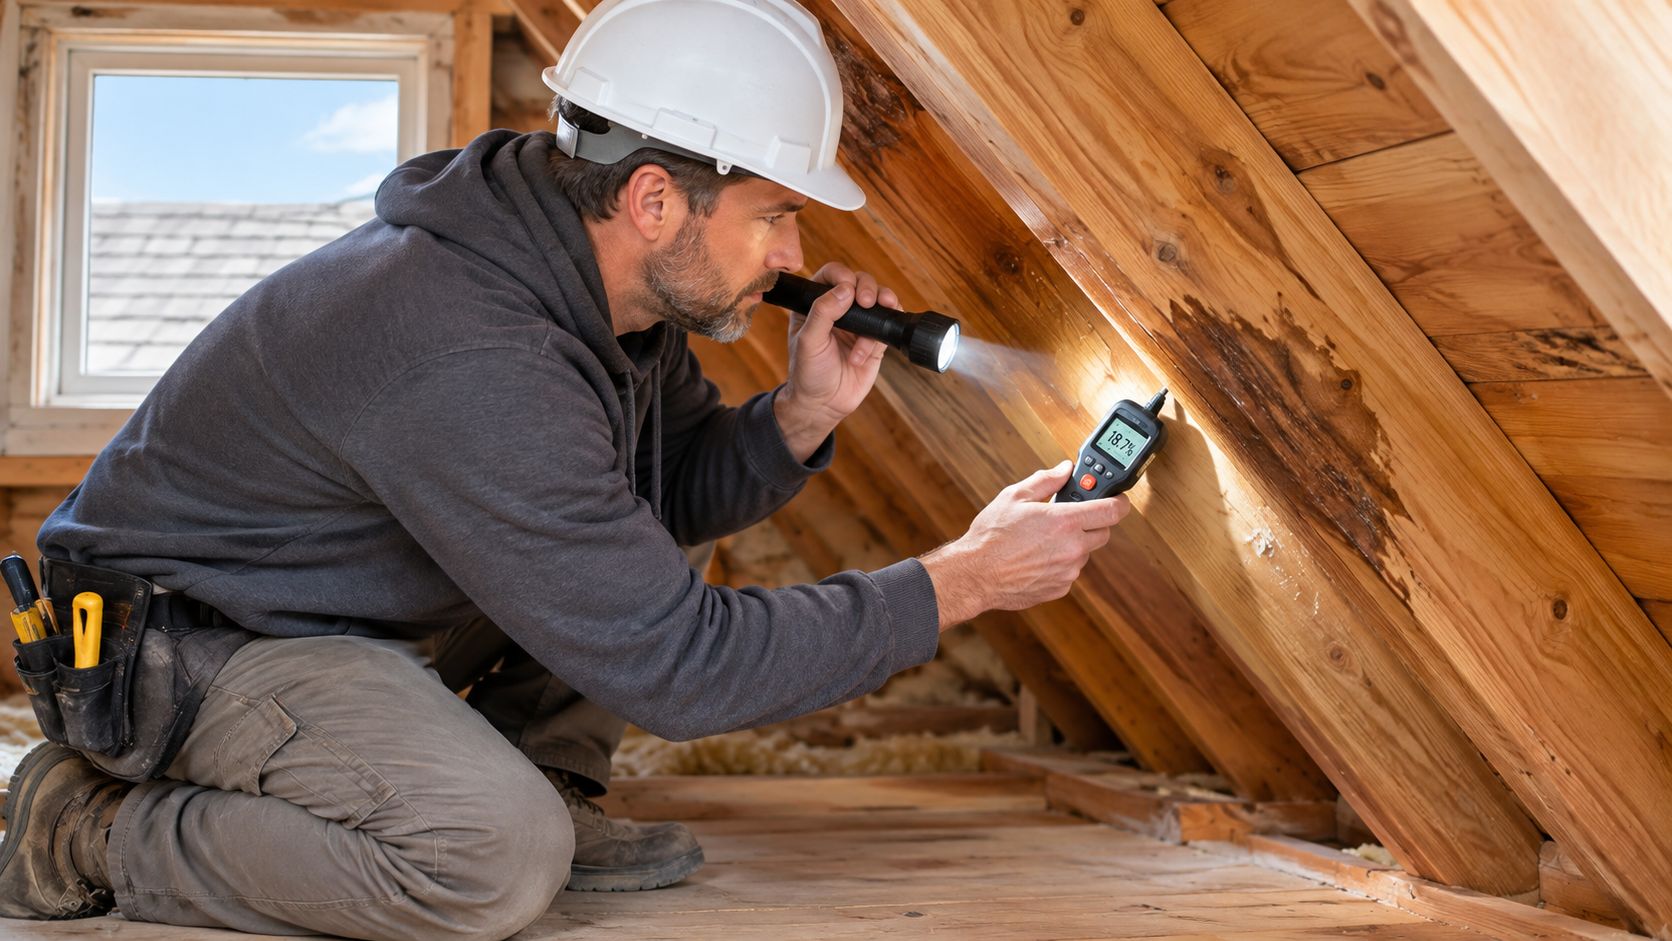
Look for darkened or water-marked decking, damp rafters, compressed or discolored insulation, and moisture around roof penetrations, valleys, and equipment interfaces. Daylight visible around a penetration can signal an opening, but not every small light gap indicates active leakage. Note any musty smell and whether the materials feel wet; a dry stain can be evidence of a past leak rather than current water entry.
Tarrant County homes can also have HVAC condensate lines running through the attic. A leak or condensation issue around a line can mimic a roof leak, so record whether the interior staining or wet insulation follows the line's route. That clue doesn't settle the diagnosis, but it gives the inspector another pathway to test.
Keep the indoor record simple: room, exact location, condition, photograph, and any attic evidence above it. This first-pass map helps a roofer compare what's happening inside with likely entry points outside, instead of treating the most visible stain as the source.
Exterior Roof Survey Walking the Drainage Path
Once the interior map is in hand, an exterior survey should follow the roof's drainage path from ridge toward eave. Don't climb onto a wet, icy, steep, or otherwise unsafe roof. If access isn't safe, photograph what can be observed from the ground and leave close inspection to a qualified roofer.
Start at the ridge cap, then review the field shingles or membrane for missing, lifted, split, punctured, or displaced material. On asphalt roofs, note exposed or damaged areas and irregular shingle edges. On standing seam metal, look for separated seams, damaged panels, and details around fasteners or transitions. On low-slope roofs, check seams, patches, membrane edges, and areas where water appears to pond.
Follow the details where roofs meet
Penetrations deserve close attention: plumbing vents, flues, satellite mounts, skylights, and HVAC equipment all interrupt the roof surface. Check the surrounding boots, flashing, sealant, and laps for gaps, splits, lifting, or signs of movement. At valleys, look for damage or debris that could interfere with drainage.
Where the roof meets a wall, inspect step and counter-flashing for separation or poorly integrated edges. Then check gutters and downspouts for visible blockage, damage, or signs that water has overflowed. Finish at the drip edge and fascia, where staining or deterioration can help show how water has been moving. Photograph findings from a consistent angle and include enough surrounding roof area to establish location.
Blue Lake Roofing & Remodeling services residential and commercial roofs across Tarrant, Collin, Denton, and Dallas counties, including asphalt shingles, standing seam metal, and commercial membrane systems. Whatever the roof type, a useful survey records the system and the condition of its transitions, not just a general impression that the roof looks good or bad.
Sketch the roof in a simple outline and mark each observed issue, such as a suspect flashing joint or damaged membrane seam. Note where the image was taken and whether the area was directly inspected or only viewed from the ground. A sketch makes it easier to connect exterior observations with the interior map without claiming that a visible defect is automatically the confirmed leak source.
When Infrared and Moisture Meters Actually Help
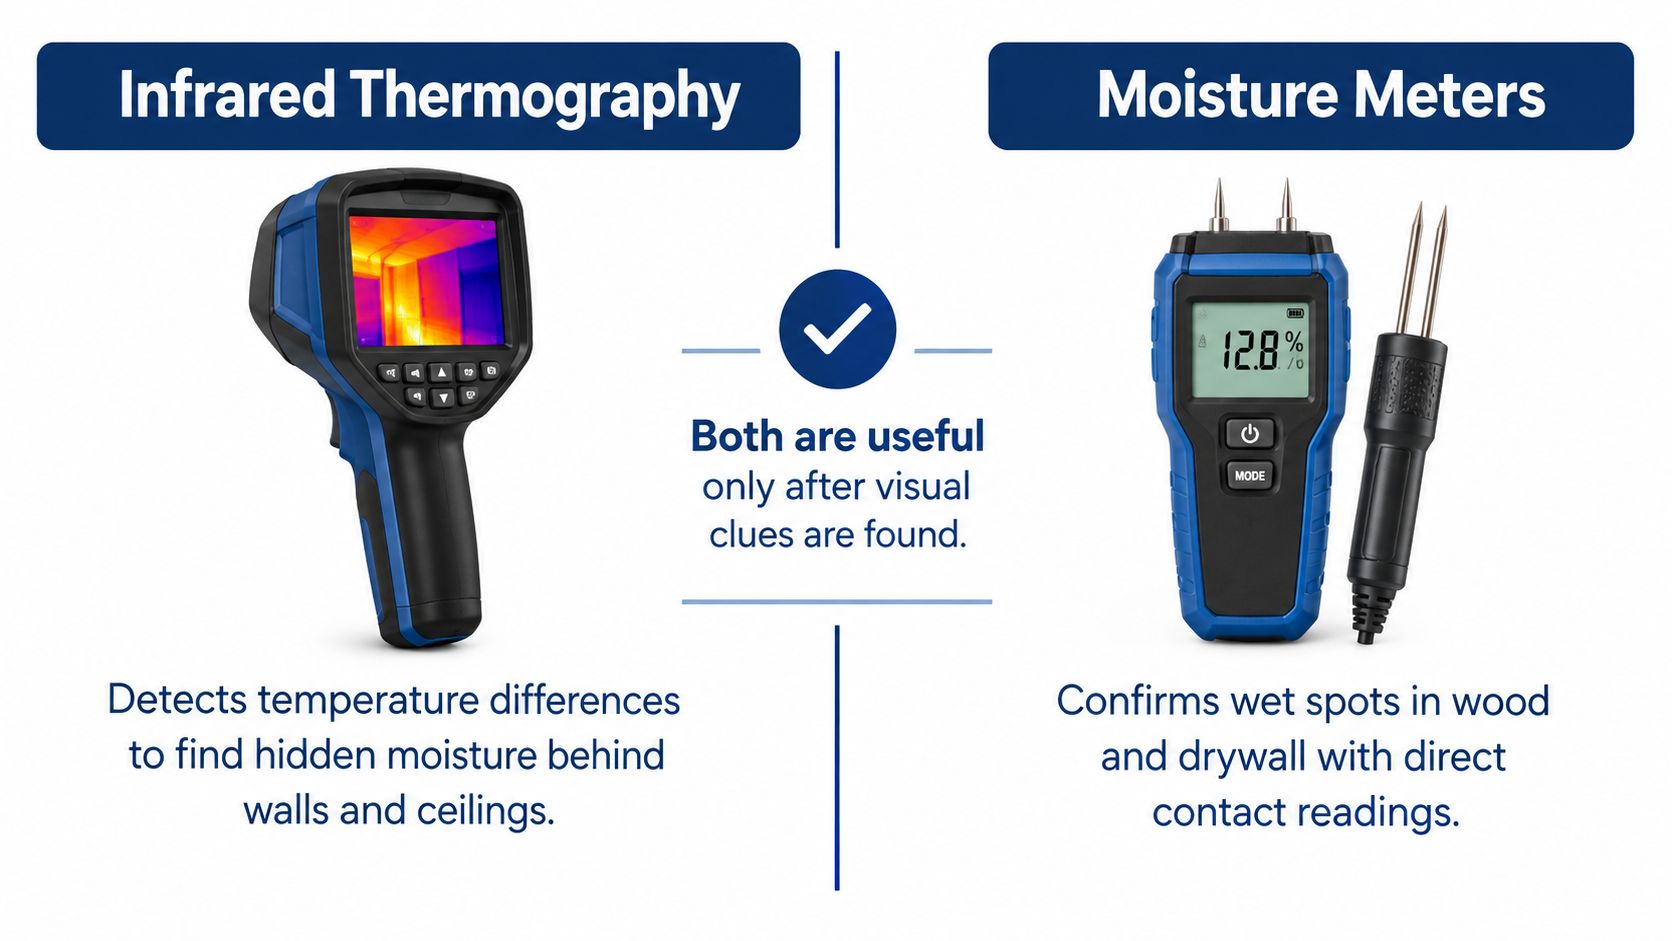
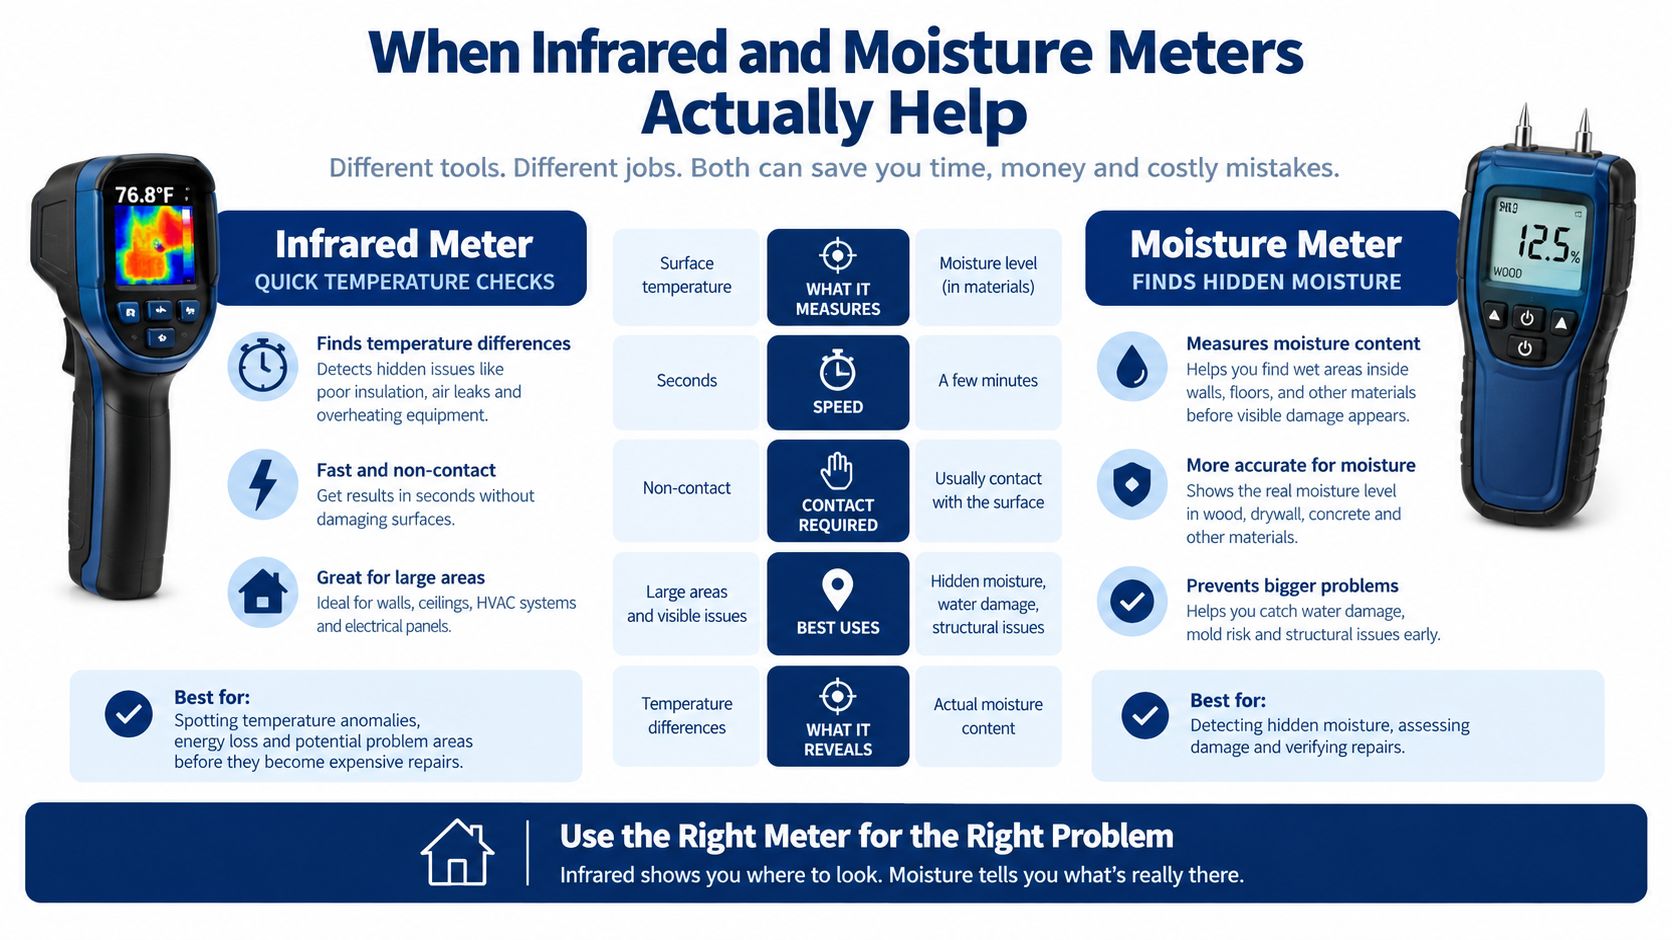
Infrared thermography doesn't show water directly. It detects temperature differences that may be associated with retained moisture, but insulation thickness, deck geometry, air leakage, and material changes can also create thermal anomalies. Treat a camera image as a screening clue, not confirmation of a leak.
Infrared surveys are most relevant to low-slope commercial roofs with insulation above the deck and in contact with the waterproofing. ASTM C1153 addresses infrared surveys for locating wet insulation and specifies that surveys need suitable equipment and environmental conditions, including adequate thermal contrast (ASTM C1153). The standard also recognizes ground-based and aerial survey approaches. That doesn't make aerial scanning necessary for every roof; a walk-on assessment may be more practical for a small area, while a larger roof may warrant broader scanning.
Choose the test that answers the question
A moisture meter can be a quicker, more direct option when an inspector has a specific area to check, such as suspect wood or drywall in an attic. On insulated low-slope systems, electrical-impedance surveys can help compare moisture content; ASTM D7954 addresses that method. The right instrument depends on the roof assembly and what the inspection needs to establish.
Timing and conditions matter for infrared work. A survey may be useful after solar heating or during a suitable evening window, when retained moisture can create thermal contrast. But if the weather or roof surface doesn't support a reliable scan, the report should say so rather than presenting ambiguous colors as proof. A 2026 water leak detection guide can provide further background on thermal imaging, but a camera's display still needs interpretation and verification.
A defensible report records the instrument type, weather and roof-surface conditions, scan path, anomaly locations, photographs, and direct verification readings. ASTM C1153 calls for representative verification of thermal anomalies, using direct checks such as moisture-meter readings and, when warranted, core samples. The standard doesn't determine the cause or point of water entry, so a thermal finding alone cannot establish where a leak began. For a small attic leak, visual inspection and a moisture meter may be enough; for a large low-slope roof, a thermal survey followed by direct verification may be appropriate.
Post-Hail Documentation That Holds Up With Your Insurer
In DFW, post-hail documentation should begin with the observed condition, not a replacement assumption. Reporting based on NOAA data describes more than 1,800 storms across Dallas, Collin, Denton, and Tarrant counties from 2020–2025, with roughly half classified as hailstorms and more than $2.3 billion in collective property damage (storm and hail reporting based on NOAA data). The same reporting says State Farm reported $1.4 billion in Texas hail claims in 2025 and national hail payouts above $5.6 billion. A storm history provides context, but it doesn't prove damage to a particular roof.
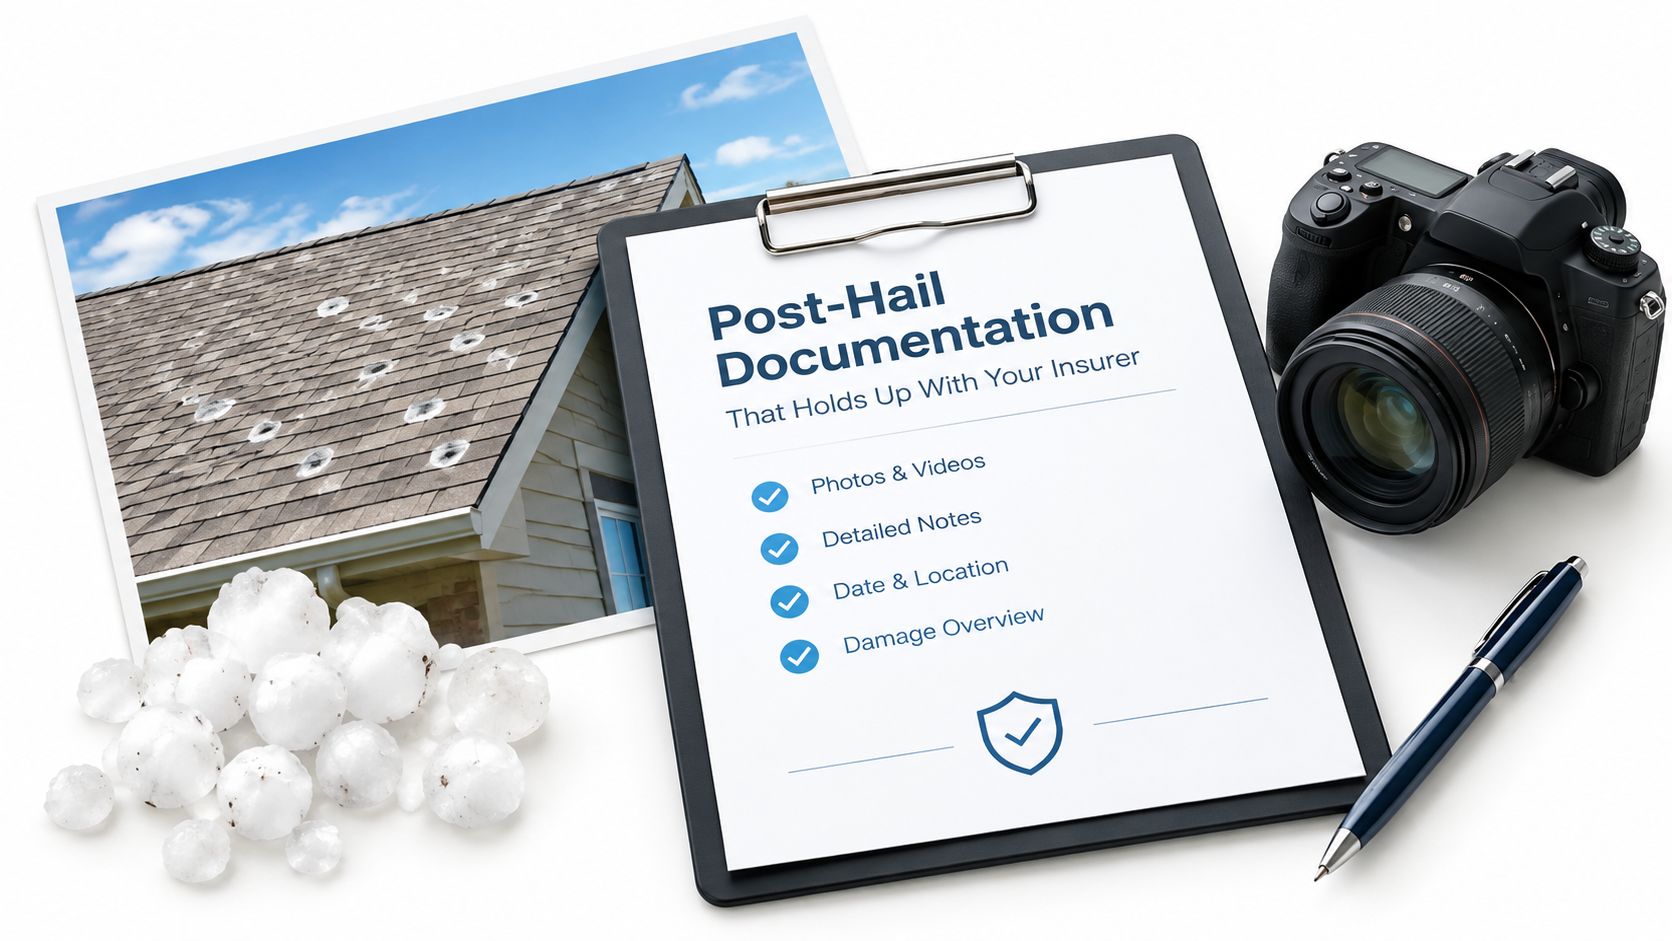
After a storm, preserve what you can before temporary work or repairs alter the evidence. Record the storm date, roof material and age if known, and which slopes or areas were inspected. Photograph representative conditions in context and close up, using consistent angles where possible. Include collateral evidence such as dents on gutters or other soft metal, and note any interior moisture or temporary mitigation, such as a tarp.
Document patterns, not just isolated marks
A roofer or adjuster needs to assess whether observed conditions are storm-created and functionally significant. Bruising, mat fracture, displaced granules, or impact evidence may matter, but blistering, foot traffic, manufacturing defects, and ordinary aging can look different and should be considered as alternative explanations. A single close-up without location context may be hard to evaluate.
Keep original photographs and record when and where each was taken. If someone performs emergency mitigation, photograph the area before and after the work and keep the related records. This creates a clearer history of what was present before repairs changed the roof.
NRCA advises prompt inspection of storm-exposed roofs, including roofs without visible indoor leakage, because wind or hail can affect flashings, seams, sealants, shingles, and membranes without producing an immediate ceiling stain (NRCA storm inspection guidance). That inspection should document the roof's condition rather than assume every storm requires replacement. For homeowners in Keller, Plano, or elsewhere in the region, a dated, organized record can help an insurer and contractor evaluate the evidence and scope the appropriate work.
Serving Fort Worth and Surrounding DFW Cities
Fort Worth is the starting point for a local roof inspection, but the service area extends across a broad region. The North Central Texas Council of Governments defines its planning region as 16 counties, including Tarrant, Dallas, Denton, and Collin, and describes a metropolitan planning area of approximately 9,441 square miles (NCTCOG regional overview). That scale is why a useful service-area description should name communities, not rely only on “DFW.”
In Tarrant County, coverage can include Fort Worth, Arlington, Mansfield, Keller, Southlake, North Richland Hills, Euless, Grapevine, Hurst, Colleyville, Burleson, and Forest Hill. Elsewhere in the metroplex, homeowners may be in Dallas, Plano, McKinney, Frisco, Denton, Carrollton, Irving, or Garland. The NCTCOG regional city table identifies Dallas, Fort Worth, Arlington, Plano, and Irving among the area's largest population centers, using 2020 figures (NCTCOG regional city table).
Check local fit before scheduling
Before you book, ask the contractor to confirm the specific city and county they serve, who will perform the inspection, and whether the visit includes roof access, photographs, and a written summary. Ask whether local permit requirements will be checked if repairs or replacement are needed; requirements can vary by jurisdiction.
Blue Lake Roofing & Remodeling operates from Forest Hill and serves Tarrant, Collin, Denton, and Dallas counties with its own local, licensed crews. The company offers free on-site inspections and estimates within that service area. When you call any roofer, ask whether the person assessing the roof is there to document conditions and explain findings, rather than only discuss a sales proposal. A location-specific report is more useful when it identifies the roof areas inspected and separates confirmed observations from questions that require further testing.
Next Steps, Repair Options, and Your Inspection Checklist
Read the report for locations, photos, findings, and uncertainties. A failed flashing or isolated shingle may call for a targeted repair; widespread deterioration or verified wet insulation may require a broader scope. A recurring stain after repair means the pathway needs another look, not another coat of paint.
Quick inspection checklist
- Interior: Record stains, drips, odors, and exact locations.
- Attic: Note wet insulation, marked decking, and nearby HVAC lines.
- Exterior: Map shingles or membrane, penetrations, flashing, drainage, and visible damage.
- Documentation: Keep dated, location-labeled photos and repair records.
- After a storm: Preserve evidence before temporary mitigation or repairs change it.
Homeowners can document visible signs from the ground and indoors, but shouldn't climb onto an unsafe roof. NRCA recommends biannual inspections, typically supplemented by an inspection after severe weather (NRCA maintenance guidance). If a leak returns, ask the contractor to retrace the water pathway and explain what was verified.
For a documented assessment of a leak, storm damage, or roof wear, Blue Lake Roofing & Remodeling offers free on-site inspections and estimates across Tarrant, Collin, Denton, and Dallas counties. Request a photo-supported inspection so you can discuss a targeted repair, further testing, or a larger scope with evidence in hand.
