

Roof Inspection for Leaks in Fort Worth: A Practical Guide
You come home after a spring hailstorm and notice a coffee-colored stain spreading across the dining-room ceiling. The roof looks mostly normal from the driveway, but that doesn't tell you where water entered, how far it traveled, or whether the next North Texas storm will find the same opening. A careful roof inspection for leaks connects the indoor symptom to the roof assembly, documents what is visible, and separates an active breach from general wear.
That distinction matters in Fort Worth, Benbrook, Saginaw, Burleson, Euless, and the surrounding DFW communities. Hail, wind-driven rain, intense heat, and slow-moving tropical rain bands can expose weaknesses around flashing, vents, valleys, and wall intersections before the field shingles look obviously damaged. The following process starts inside, moves through the attic, and finishes with a controlled exterior inspection. It can confirm or rule out a likely roof breach, but it won't establish the age of the shingle system or prove pre-existing manufacturer defects.
Table of Contents
- When a Fort Worth Homeowner Should Suspect a Hidden Leak
- What a Roof Inspection for Leaks Answers
- Indoor and Attic Clues Worth Photographing First
- Walking the Roof Surface From Eaves to Ridge
- DFW Scenarios That Change the Inspection Method
- Turning Inspection Findings Into Insurance-Ready Documentation
- Your Practical Inspection Checklist Before Calling a Roofer
When a Fort Worth Homeowner Should Suspect a Hidden Leak
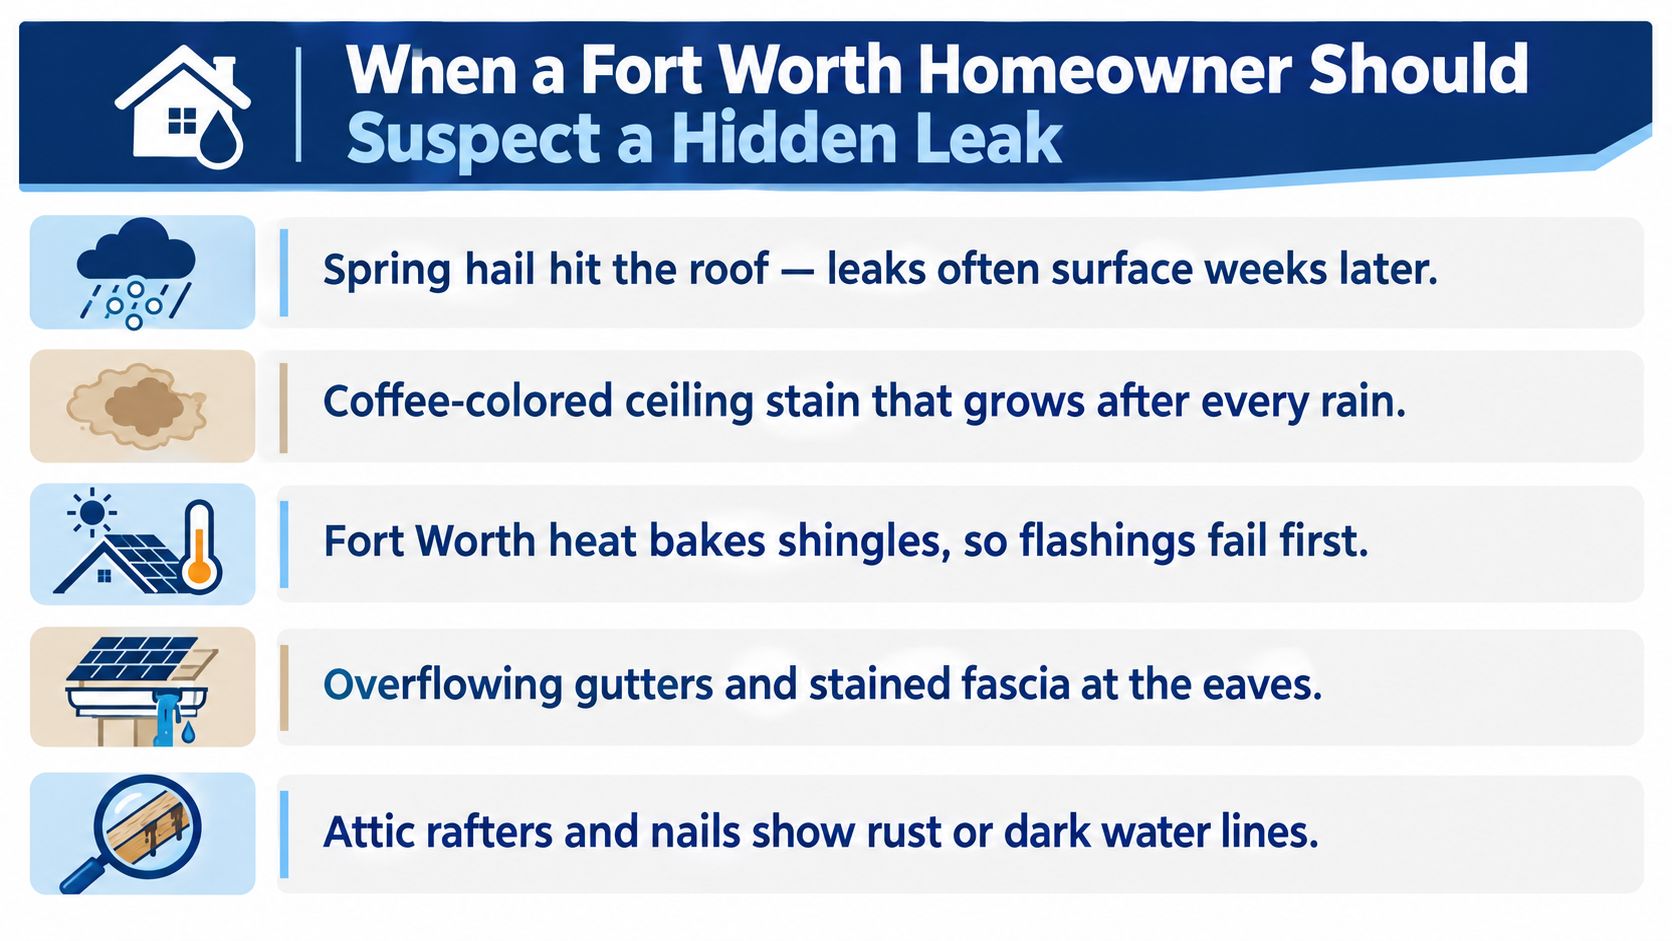
After a storm in Benbrook, Saginaw, or another DFW community, a roof may look normal from the driveway while water is already moving through the assembly. Late-April hail, straight-line winds near I-35W, or tropical rain bands after Hurricane Beryl in July can open a small path that stays dry until sustained rain returns. Water may then travel along decking, rafters, insulation, or a fireplace chase before reaching a room.
Start documenting the issue when the symptom repeats or changes with weather. Musty attic smells after humid mornings, peeling paint near crown molding, flickering recessed lights, and water marks along a fireplace chase warrant inspection. If a ceiling stain expands after rain, photograph it, record the date, and note the preceding weather. A single stain shows location. A pattern helps establish timing and a likely entry path.
Start with the symptom, not the repair
The visible mark may sit below, rather than directly beneath, the roof opening. Water can enter at a transition and move before appearing indoors. A useful inspection compares the room symptom with attic evidence, roof details, and recent storm conditions.
- Ceiling changes: Photograph new stains, bubbling paint, sagging drywall, and discoloration around trim.
- Electrical warning signs: Treat flickering recessed lights as a safety concern, and do not handle wet fixtures.
- Odor and humidity: A musty smell can indicate concealed moisture, though attic condensation and plumbing can create similar clues.
- Fireplace and wall paths: Follow marks along the chase, crown molding, and adjoining walls instead of stopping at the first visible spot.
- Storm timing: Record whether the symptom followed hail, wind, or prolonged rain.
A ground-level walk-around cannot show every transition. A 2026 roof leak detection report from Hibco Roofing states that 60% of professional inspections identify leaks at critical transition points, including chimneys, vents, and skylights (industry summary on roof leak detection). Use that finding as a reason to inspect from inside and above, then preserve photographs and weather notes for an insurance file.
What a Roof Inspection for Leaks Answers
A roof leak inspection should answer two practical questions: Where is water entering now, and where could the roof admit water during the next storm? Those answers require separate findings. A pipe boot may be leaking today while chimney flashing is deteriorating without leaving an indoor stain.
As the transition-point finding in the previous section suggests, chimneys, vents, skylights, parapets, curbs, valleys, and roof-to-wall intersections deserve close inspection. These areas join materials that move differently and often receive concentrated runoff. A ground-level walk-around can miss a failed seal, lifted flashing edge, or concealed opening. On low-slope sections, parapet and curb intersections can also fail where membrane or base flashing turns up and terminates, a failure mode addressed in the ASTM D7053 roof inspection standard.
The inspection must separate an active entry point from a future risk. In Fort Worth, that distinction matters after hail, straight-line wind, or prolonged thunderstorms. A roof may remain dry during the visit while damaged flashing, open laps, or displaced components leave a clear path for the next storm. Record both conditions instead of labeling the roof “leaking” or “not leaking.”
A replacement estimate answers a different question. It scopes labor, materials, access, and cost. It may identify damaged areas, but it does not automatically explain how water traveled from the roof into the room. The inspection record should connect the interior symptom, attic evidence, exterior detail, photographs, and weather timing so an adjuster or roofer can follow the reasoning.
The inspection sequence
- Interior review: Mark the room, ceiling location, wall relationship, odor, and symptom timing.
- Attic inspection: Check decking, fasteners, water lines, insulation, and daylight around penetrations.
- Exterior review: Examine drainage, shingles or membrane, valleys, flashing, vents, chimneys, and roof-wall intersections.
- Targeted testing: Choose a moisture meter, infrared survey, electronic leak detection, flood test, or another method suited to the roof assembly.
- Written documentation: Number photographs, record exact locations, state confidence, and list unresolved areas.
For background on recognizing interior water damage before a roof visit, review this real estate water damage guide. It supports the indoor review but does not replace a roof-specific investigation.
A useful report includes project history, service records, occupant observations, testing methods, findings, analysis, and limitations. That format gives a Fort Worth homeowner a storm-era record to share with an adjuster or roofer in Benbrook, Arlington, or another DFW city.
Indoor and Attic Clues Worth Photographing First
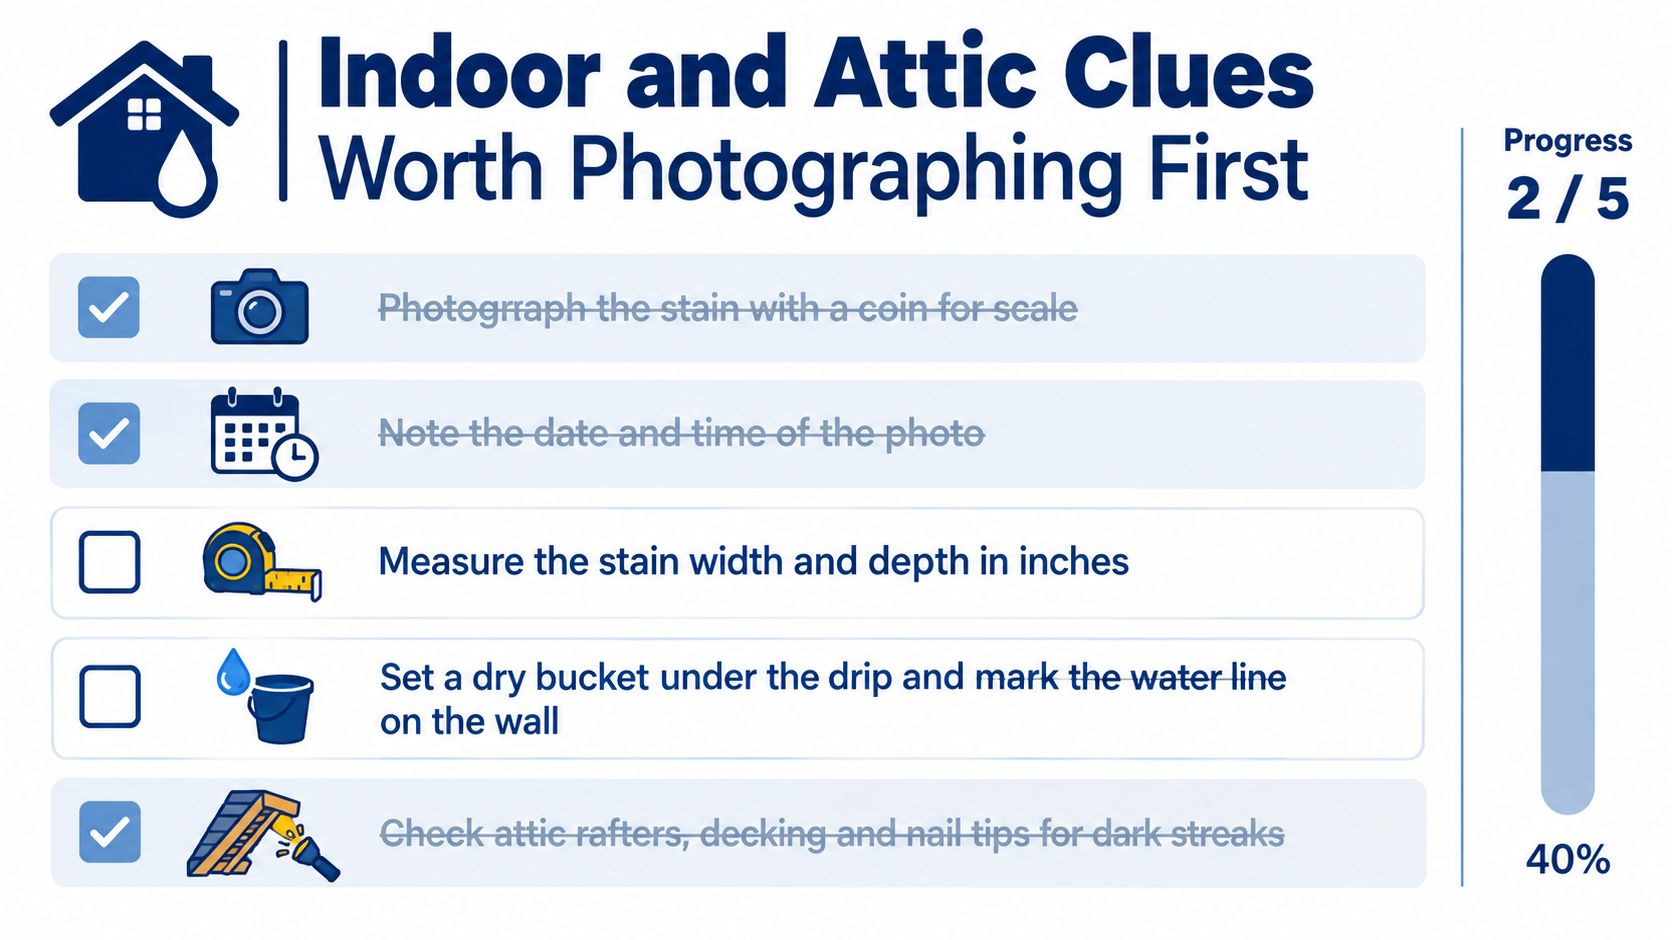
Before anyone climbs a ladder, preserve the indoor evidence. Stand back far enough to show the entire ceiling plane, then take a close photograph of the stain with a coin for scale. Write down the date, time, room, and recent weather, and measure the distance from the nearest exterior wall. That measurement won't identify the entry point by itself, but it can help estimate the likely rafter direction.
Use a flashlight, knee pads, and a pinless moisture meter for the attic. Never step through ceiling drywall, and don't treat loose insulation as a walking surface. Look for darkened sheathing, rusted nail shanks, compressed or wet insulation, and daylight around plumbing vents, chimneys, or other penetrations.
Photograph the evidence so someone else can use it
A meter reading without a location is weak documentation. Photograph the display while the meter touches the decking, then take a wider image showing the rafter, truss, vent, or wall relationship. Keep the timestamp visible in the phone's original file data, and use a consistent filename such as attic-north-slope-vent-01.
The inspection should record what was found and what wasn't found. Dry decking doesn't disprove a past leak, while a damp reading doesn't prove the roof is the source. Attic condensation, plumbing leaks, and air leakage can create similar signs, so the surrounding assembly matters.
Safety rule: Don't disturb insulation around recessed lights. Saturated insulation can conceal heat-producing fixtures and creates an unsafe surface for movement.
Keep the attic pass limited to safe, accessible areas. Use solid walking planks where they already exist, wear head protection near baffles and framing, and stop if the decking feels soft. If water is actively entering, leave electrical components alone and call a qualified roofing professional.
Walking the Roof Surface From Eaves to Ridge
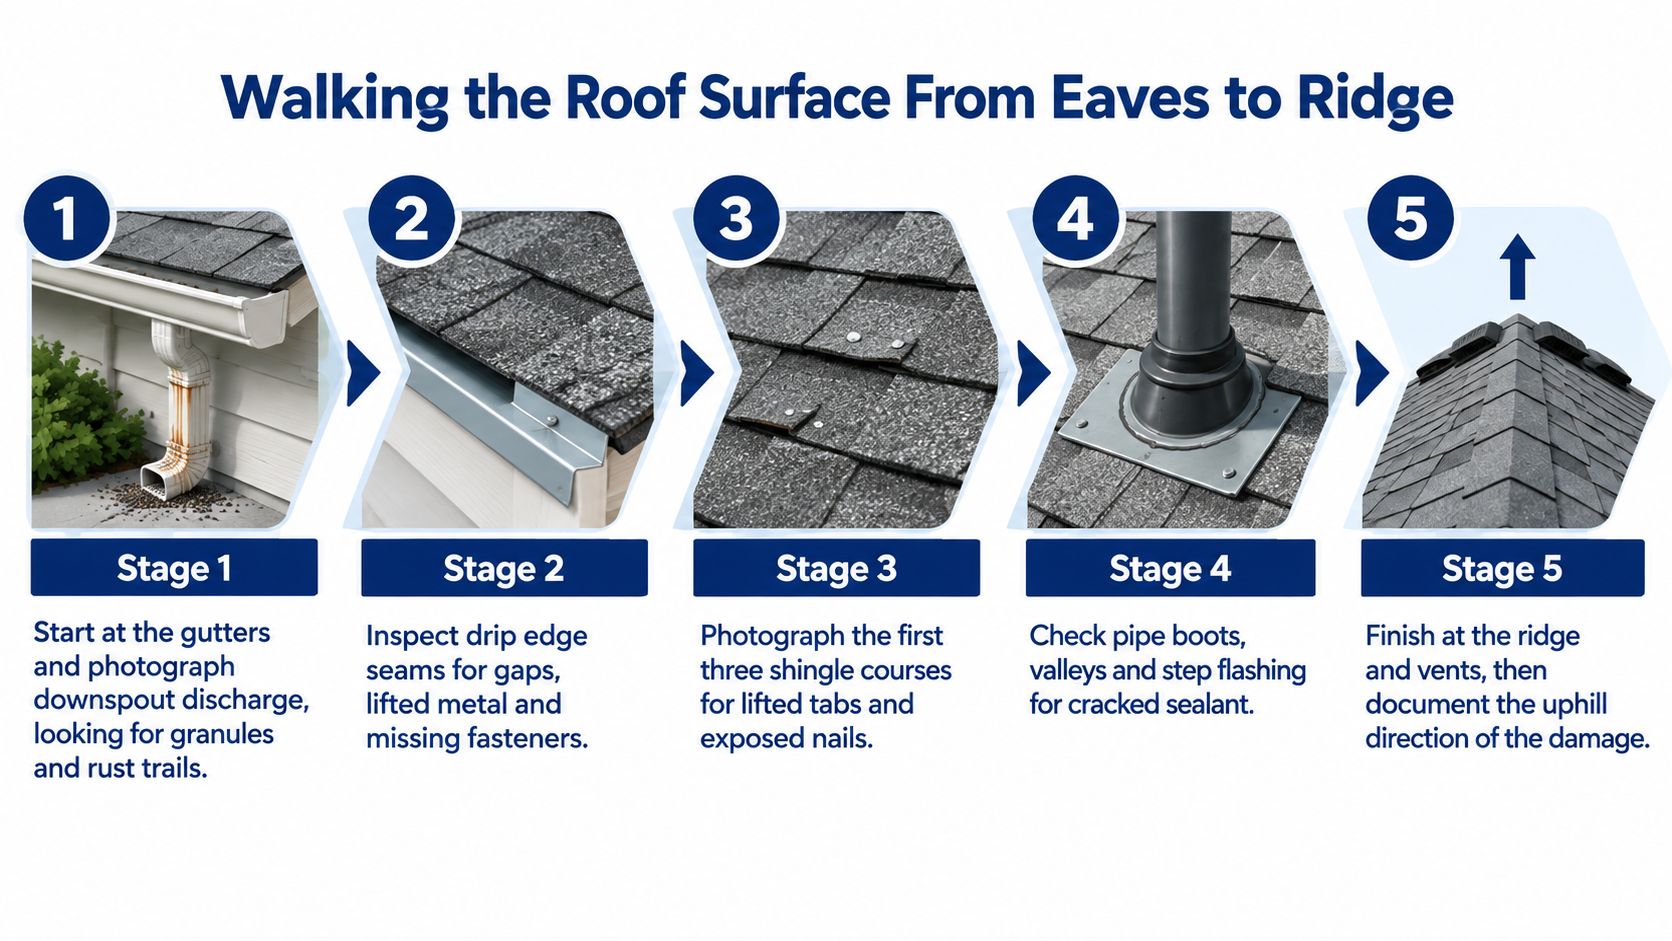
A controlled exterior inspection should move uphill from the gutters. Begin with the drainage edge, then work through the eaves, valleys, wall intersections, penetrations, and ridge. This order makes it easier to follow the water-shedding design and prevents a dramatic defect near the ridge from distracting you from a blocked or damaged lower path.
Photograph downspout discharge points, drip-edge seams, and the first three shingle courses above the gutter line. Look for lifted tabs, missing granules, exposed nails, nail pops, rust trails, and water staining on the fascia. A downspout that discharges against the foundation isn't automatically a roof leak, but it belongs in the drainage record because overflow can wet the eaves and adjacent wall.
Follow the vulnerable details
At the valleys, check for separated shingle weaving, exposed metal, and debris trapped against the cutline. At second-story walls, inspect step flashing and the counter-flashing where brick chimneys meet the roof. Older Fort Worth homes often need close attention at chimney crowns, cricket saddles, and mortar-adjacent flashing.
Plumbing vent boot collars can crack or pull away from the pipe. Check skylight frames, roof vents, ridge caps, and every place a fastener or penetration interrupts the membrane. A crack in sealant is a clue, not a complete diagnosis. The inspector should determine whether the flashing design still directs water away from the opening.
Hail-bruised shingles may show matte circles around the size of a quarter with displaced granules, especially after spring cells in Tarrant County. Record the pattern, slope, and affected roof plane rather than photographing only one mark. Wind-lifted creases that run perpendicular to the slope can indicate movement, but the condition still needs to be distinguished from installation issues or normal aging.
Make each photo findable
Give every image a number, compass direction, and approximate distance from a fixed landmark such as a chimney, gable, or roof vent. Pair a close-up of the defect with a wider view that identifies its location. A roofer or adjuster should be able to stand at the property and find the same flashing joint without guessing.
Don't walk a steep, wet, fragile, or unfamiliar roof. Ground-level photographs, binoculars, or a professional inspection are safer than turning a documentation task into an injury.
DFW Scenarios That Change the Inspection Method
A single-story home in Burleson and a commercial roof in Euless can both report dripping, yet they shouldn't receive the same test. Roof material, access, weather history, occupancy, and the cost of disturbing the assembly determine the investigation method.
In the Burleson example, a 1998 single-story home had a stained dining-room ceiling after a May hailstorm. The homeowner expected broad shingle damage. Instead, moisture readings traced the active path toward a failing pipe boot and rusted step flashing against brick veneer facing the prevailing south wind. Granule bruising was documented for insurance, but the active repair required a partial tear-off rather than a full replacement.
The commercial example involved a 40,000-square-foot TPO roof over an Euless warehouse. Occupants reported two drip points, but operations couldn't stop for an extended test. A garden-hose flood test on a dry Saturday would have taken days. Electronic leak detection and infrared scanning mapped moisture beneath the membrane in two hours and located three breaches near HVAC curbs that weren't visible from the surface.
| Scenario | Primary Method | Secondary Tool | Output |
|---|---|---|---|
| Burleson single-story shingle roof | Interior and attic tracing, followed by targeted exterior inspection | Pinless moisture meter and close-up documentation | Active leak path, storm-related observations, and a repair-versus-replacement recommendation |
| Euless TPO warehouse | Electronic leak detection and infrared moisture mapping | Targeted verification around HVAC curbs | Moisture map, probable breach locations, and a repair scope that limits operational disruption |
These examples show why “use infrared” isn't a complete inspection plan. Independent roofing guidance identifies spray testing, flood testing, capacitance or impedance testing, nuclear metering, and infrared thermography as major methods for horizontal membrane diagnosis (WBDG membrane integrity testing guidance). Low-voltage scanning requires a wet membrane and horizontal surface, while excess water can create false positives by forming a conductive path to grounded penetrations.
For concealed wet areas, one documented facility scan found 8,806 square feet of moisture intrusion in a 14,498-square-foot roof section, while another section showed 25% intrusion (documented facility moisture scan). Those figures aren't a prediction for every roof. They illustrate why a surface that looks intact can require mapping before a repair decision is made.
Turning Inspection Findings Into Insurance-Ready Documentation
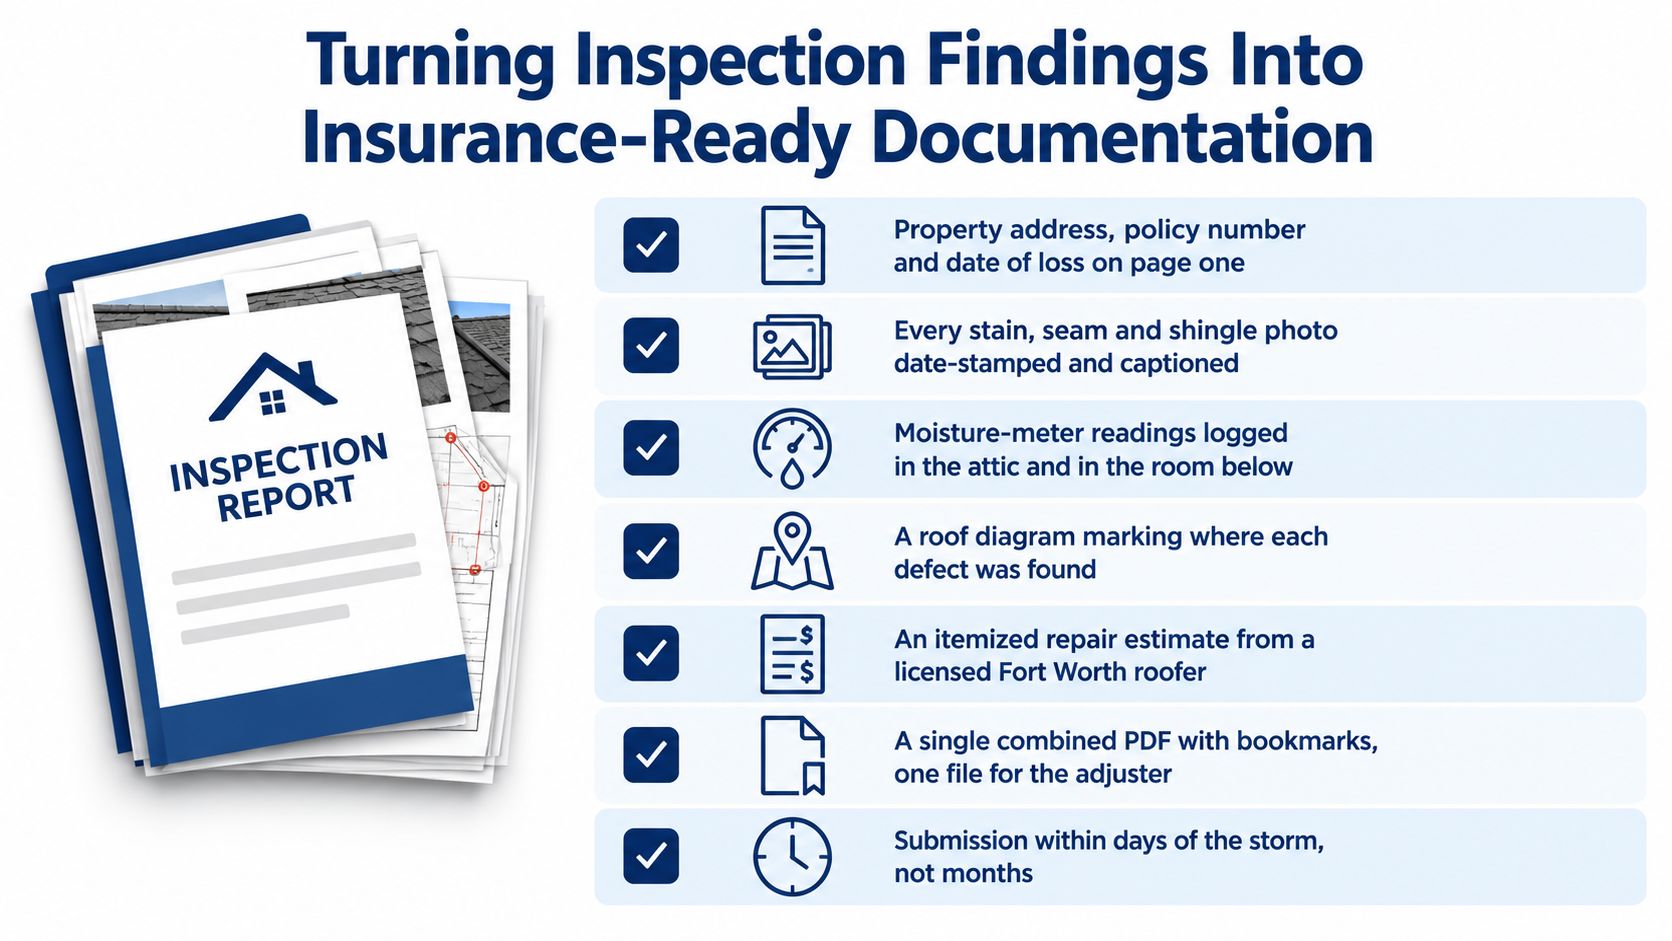
A roof inspection becomes useful during a claim only when another person can verify the sequence. Build one packet before repair work changes the evidence. Start with a cover sheet listing the property address, policy number, date of loss, and inspector contact information.
Build a traceable photo record
Use a chronological photo log. Each image should retain its EXIF timestamp, compass bearing when available, and a one-line description of the defect. For every close-up of lifted shingles, hail impact, flashing separation, or a wet attic area, include a wider image showing the surrounding roof plane.
Add the following to the packet:
- Moisture readings: Print the meter readings on letterhead and identify the exact room or roof area tested.
- Attic evidence: Include photographs with a flashlight or framing member for scale, along with notes on access limits.
- Roof diagram: Sketch the roof and place numbered pins that match the photo log.
- Storm exhibit: Attach the local National Weather Service report for the storm date as supporting weather documentation.
- Scope notes: Separate confirmed damage, probable entry paths, unrelated maintenance issues, and items requiring follow-up.
- Code-related items: Note components such as drip edge or valley lining that may create an additional replacement-cost line item under the carrier's guidelines.
A report shouldn't claim more than the inspection proves. Thermal surveys are screening tools, not final proof, so pair an anomaly with direct moisture measurements, a roof core, or another assembly-appropriate verification method when needed (thermal imaging roof inspection guidance). Record weather conditions, access restrictions, test limitations, and confidence levels.
Keep the packet consistent
Hand the adjuster the combined file on site when practical, and keep the same version for your records before repairs begin. If a contractor later opens the roof, photograph the assembly before and after tear-off. That creates a defensible connection between the visible condition, the moisture findings, and the completed scope.
A clear packet doesn't guarantee coverage or payment. It gives the adjuster and roofer a common record, which reduces confusion about location, timing, and whether a proposed repair addresses the documented breach.
Your Practical Inspection Checklist Before Calling a Roofer
A homeowner-level pass can identify the early signal without pretending to replace a professional diagnosis. Set aside roughly an hour only if the attic and exterior areas are safe to access. Never climb onto a wet, steep, damaged, or unfamiliar roof.
- Photograph the ceiling: Include a coin for scale, then capture the whole room and the nearest exterior wall.
- Record the event: Write down the date, time, recent hail or rain, room, odor, and whether the stain changed.
- Check the attic safely: Use a pin or pinless moisture meter on accessible decking, and photograph each display with its location.
- Inspect drainage: Sweep gutters for fresh granules, photograph rust trails, and check whether downspouts discharge away from the structure.
- Scan the eaves: From a safe position, look for wind-lifted shingles, exposed nails, missing granules, and damaged drip edge.
- Review roof details: Focus on chimneys, pipe boots, valleys, step flashing, wall intersections, and ridge vents.
- Organize the record: Give every photo a date, time, location, and GPS tag when available.
Know when to hand it off
Call a Fort Worth roofing crew when there's active dripping, saturated insulation, soft decking underfoot, or storm-hit roofing that remains unresolved after more than two weeks. Water can migrate laterally after it bypasses the underlayment, so the visible room may not be beneath the actual breach.
Don't authorize a full replacement solely because one ceiling stain appeared. Ask the roofer to identify the suspected entry path, explain whether the evidence supports a localized repair or broader work, and separate storm damage from age-related deterioration. For larger properties, a Dallas commercial roof inspection checklist can help facility managers organize roof, gutter, access, and documentation issues before bringing in a commercial roofing specialist.
The Texas Comptroller treats Dallas and Fort Worth as central cities within the Metroplex (Texas Metroplex regional profile). A service-area conversation may also involve Arlington, Plano, Irving, Denton, Grand Prairie, Lewisville, Grapevine, Southlake, Bedford, Richland Hills, Kennedale, Everman, Forest Hill, Edgecliff Village, Westover Hills, River Oaks, White Settlement, Lake Worth, Lakeside, Haslet, Haltom City, Sansom Park, and Westworth Village. TxDOT's Metroplex map identifies many of these municipalities (TxDOT Dallas-Fort Worth Metroplex map), while Fort Worth adjacency information places Forest Hill at 7.7 km, Edgecliff Village at 7.8 km, Westover Hills at 8.9 km, River Oaks at 9.0 km, Westworth at 9.1 km, Haltom City at 9.6 km, Everman at 10.9 km, Sansom Park at 11.8 km, Kennedale at 12.5 km, and Richland Hills at 13.3 km from Fort Worth (Fort Worth nearby cities reference). Those locations matter because leak response, storm documentation, and roof access are local decisions.
Blue Lake Roofing & Remodeling provides on-site roof inspections, leak repairs, storm-damage documentation, insurance-claims assistance, and residential and commercial roofing services across the DFW area. If your Fort Worth or surrounding-city roof shows a stain, wet attic evidence, or storm-related damage, visit Blue Lake Roofing & Remodeling to arrange an inspection and discuss the documented repair or replacement options.
