
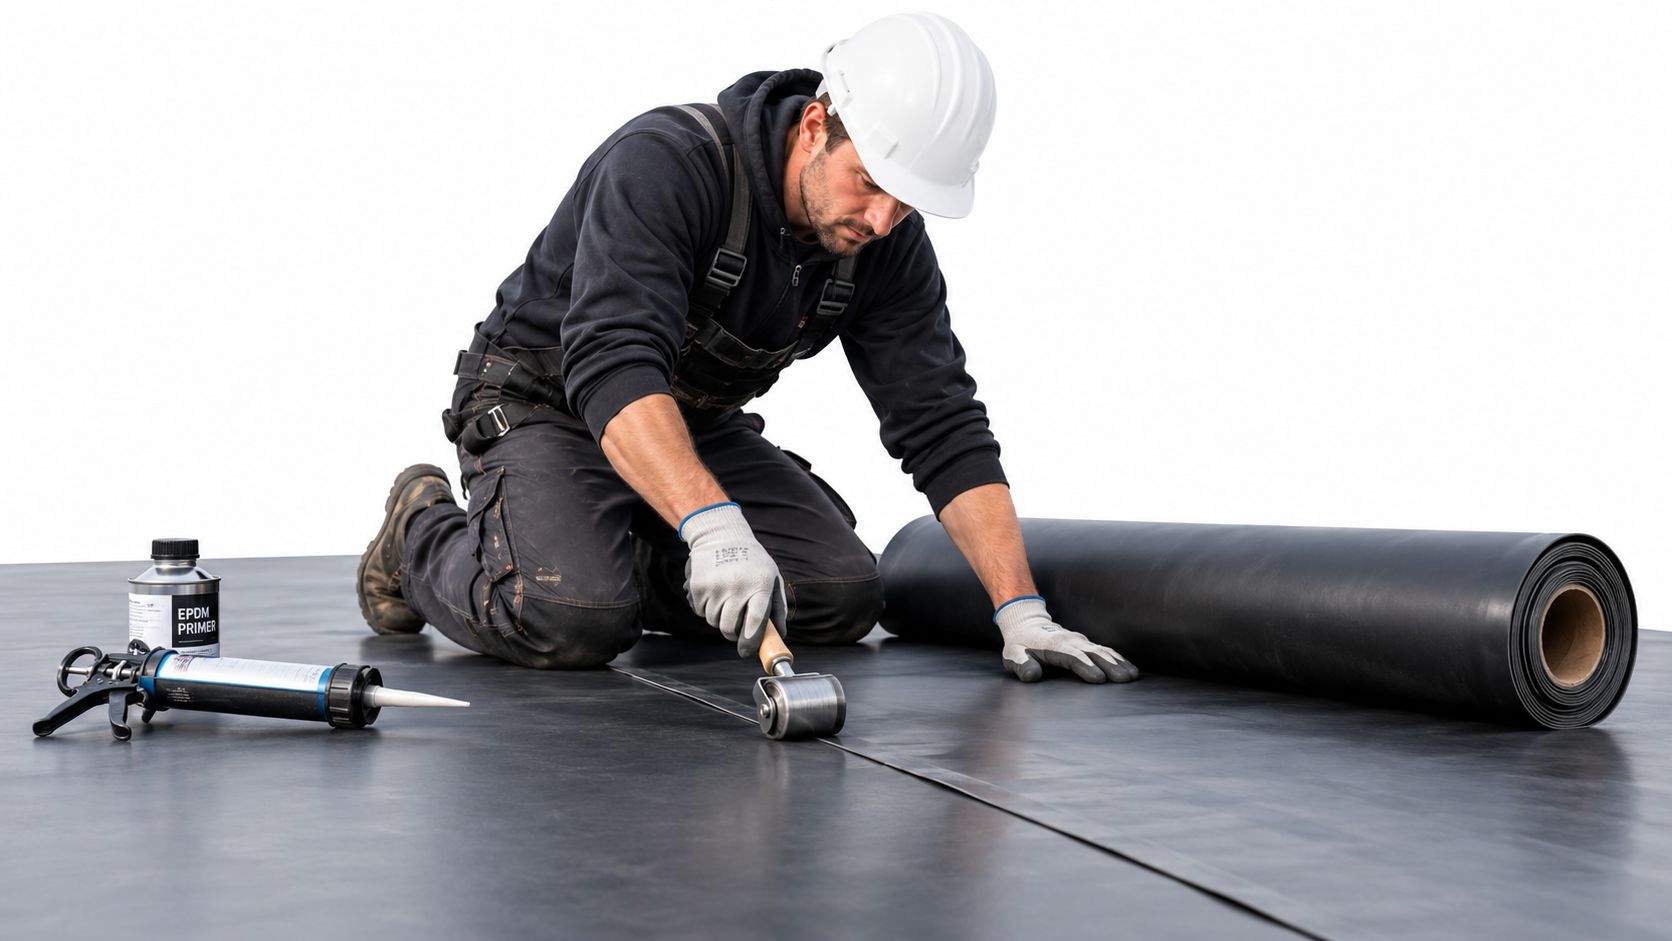
EPDM Roofing Installation Guide for Low-Slope Roofs
You're standing on a low-slope roof in Fort Worth, Arlington, Dallas, or one of the surrounding DFW cities, and the leak never seems to come from the obvious spot. The membrane may look fine from the curb, but the water keeps showing up at a seam, a curb, or a bad termination. That's the reality with EPDM roofing installation, the rubber itself is only part of the story, and the rest comes down to workmanship, weather timing, and how disciplined the crew is when the pressure's on.
EPDM is a cured synthetic rubber single-ply membrane for low-slope commercial roofs, and it can be installed fully adhered, mechanically attached, or ballasted EPDM Roofing Association overview. The system took hold quickly in commercial roofing, and that history matters because it explains why so many DFW buildings still rely on it. A good install gives you a roof that stays quiet, flexible, and serviceable. A sloppy one gives you wrinkles, seam issues, trapped moisture, and callbacks that eat time fast.
If you're pricing work or comparing scopes, tools like Exayard roofing estimating software can help keep labor, materials, and sequencing from getting guessed at on the back of a truck ticket. On the roof, though, the rule stays the same, clean prep, dry conditions, and seam discipline decide whether the system holds up or fails early.
Table of Contents
- What EPDM Roofing Is and Why Installation Quality Matters
- Preparing the Substrate and Planning for DFW Conditions
- Laying Out and Bonding the EPDM Membrane Without Wrinkles
- Creating Watertight Seams and Flashing That Hold
- Handling Penetrations Terminations and Edge Details
- Final Quality Checks and Long Term Care for Your EPDM Roof
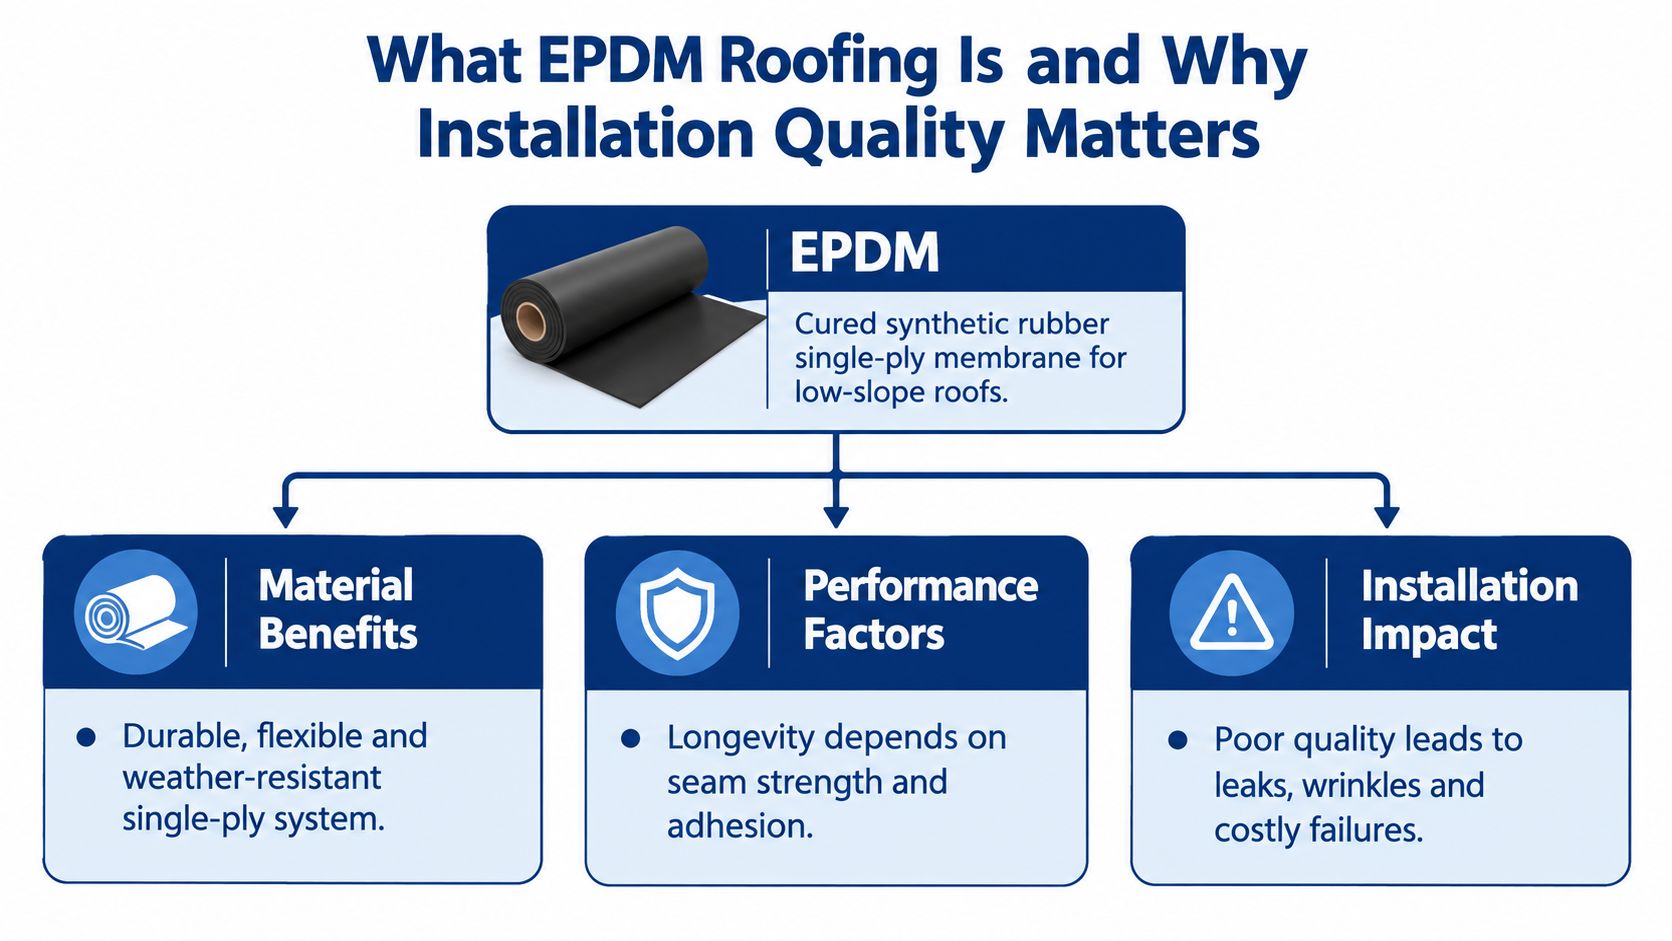
What EPDM Roofing Is and Why Installation Quality Matters
A roof can look finished from the parking lot and still be one storm away from a callback. On DFW commercial buildings, leaks usually start at a seam, termination, flashing, or area where moisture was trapped during installation. That pattern is common with EPDM roofing installation, where the membrane is only part of the performance equation and workmanship determines the outcome.
EPDM is a cured synthetic rubber single-ply membrane designed for low-slope commercial roofs. Crews can install it fully adhered, mechanically attached, or ballasted EPDM Roofing Association overview. Its widespread use is well established. A National Institute of Standards and Technology field study documented the rapid adoption of single-ply roofing and EPDM's large share of that market by the late 1980s NIST field study.
What the membrane does well
EPDM provides a flexible sheet suited to low-slope roofs. The material handles normal movement and weather exposure, but it does not correct poor installation. A crew still has to control membrane layout, keep bonding surfaces clean, form reliable seams, and finish flashings without leaving paths for water.
That division of responsibility matters in DFW. Heat can shorten working time for adhesives, wind can move a sheet before it is secured, and sudden storms can expose unfinished details. The rubber may remain sound while a rushed seam or poorly finished transition becomes the leak source.
Why the install decides the outcome
A long service life depends on more than membrane selection. The EPDM Roofing Association reports that properly installed and maintained membranes can provide at least 38 years of service life, with some reaching 40, 45, or even 50 years EPDM Roofing Association service-life report. Those results require consistent workmanship and follow-up maintenance.
Practical rule: if a crew says the membrane will cover for poor preparation, expect trouble at warranty time.
For Fort Worth, Arlington, Dallas, and surrounding DFW properties, quality assurance means checking the work before the next weather event. Verify dry surfaces, clean seams, secure terminations, and transitions treated as leak points. Estimating tools such as Exayard roofing estimating software can help account for labor, materials, and sequencing, but accurate planning still has to reach the roof.
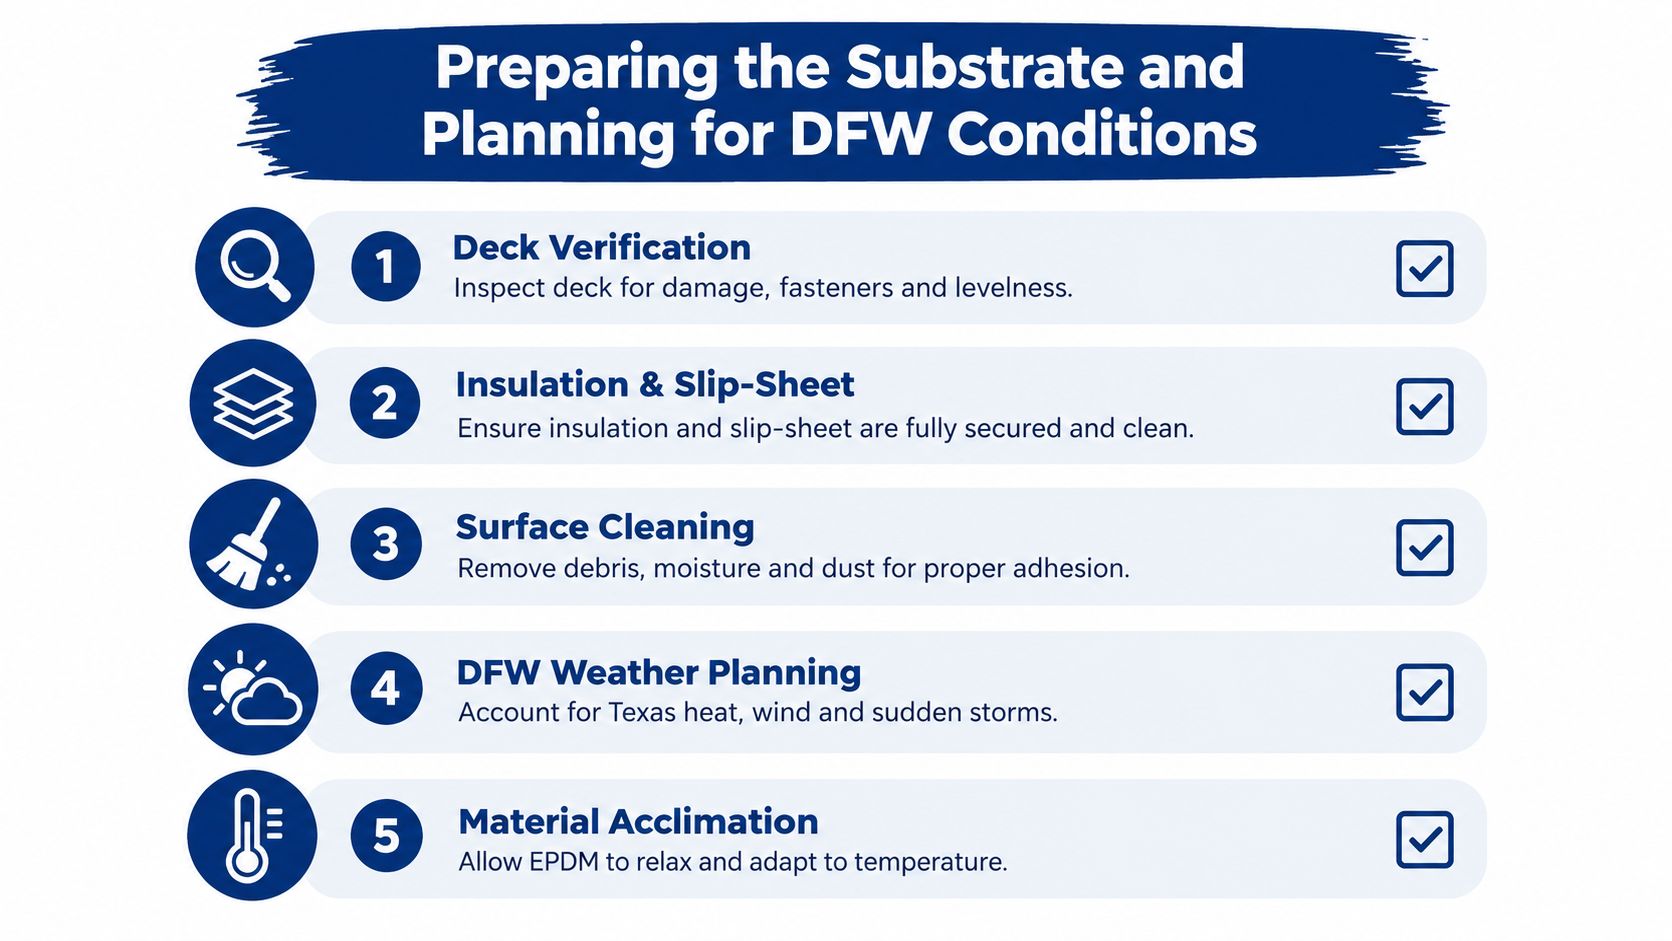
Preparing the Substrate and Planning for DFW Conditions
The first leak often starts before the first sheet reaches the roof. A commercial roof must have the deck, insulation, and slip-sheet installed in complete sections before membrane work begins. Staging materials across half-finished areas gives wind and rain an opening, especially when a crew cannot close the work back up that day.
The prep standard that actually holds
The substrate must be clean, smooth, dry, and free of oils, grease, and loose material, as set out in the Johns Manville installation guide. Crews still find dirty decks around Fort Worth, Irving, Plano, Grapevine, Keller, and Mansfield. Adhesive will not compensate for dust, oil, loose particles, or rough spots. Those defects can leave voids beneath the membrane and create trouble at seams and terminations.
Inspect the deck for fasteners, sharp projections, open joints, damaged insulation, and areas holding water. Correct them before membrane handling starts. A smooth field helps the sheet sit properly, but it also gives the crew a dependable surface for bonding and detailing leak-prone transitions.
DFW weather narrows the working window. Heat can change adhesive behavior, wind can shift an unsecured sheet, and a fast storm can turn an open section into an interior water problem. Plan each work area around a same-day weather-tight closeout. Permaroof installation rules also notes that curing varies with the product and temperature, so “one-day install” language needs to account for the materials being used and the conditions on the roof.
Do not start a section the crew cannot close before leaving. An unfinished field gives water access and forces rushed work during the next shift.
Store materials where they stay protected, keep components ready for the planned sequence, and confirm that drains and temporary water paths remain clear. The membrane should relax for about 30 minutes before bonding, allowing it to settle rather than carry avoidable tension into the installation. Do not place roofing materials in rain, snow, or on wet surfaces.
A roof is ready when the substrate is dry, the components are staged, defects are corrected, and the crew has a realistic closeout plan. In DFW, that preparation protects the workmanship that matters most, especially seams, terminations, and transitions that can fail long before the rubber itself wears out.
Laying Out and Bonding the EPDM Membrane Without Wrinkles
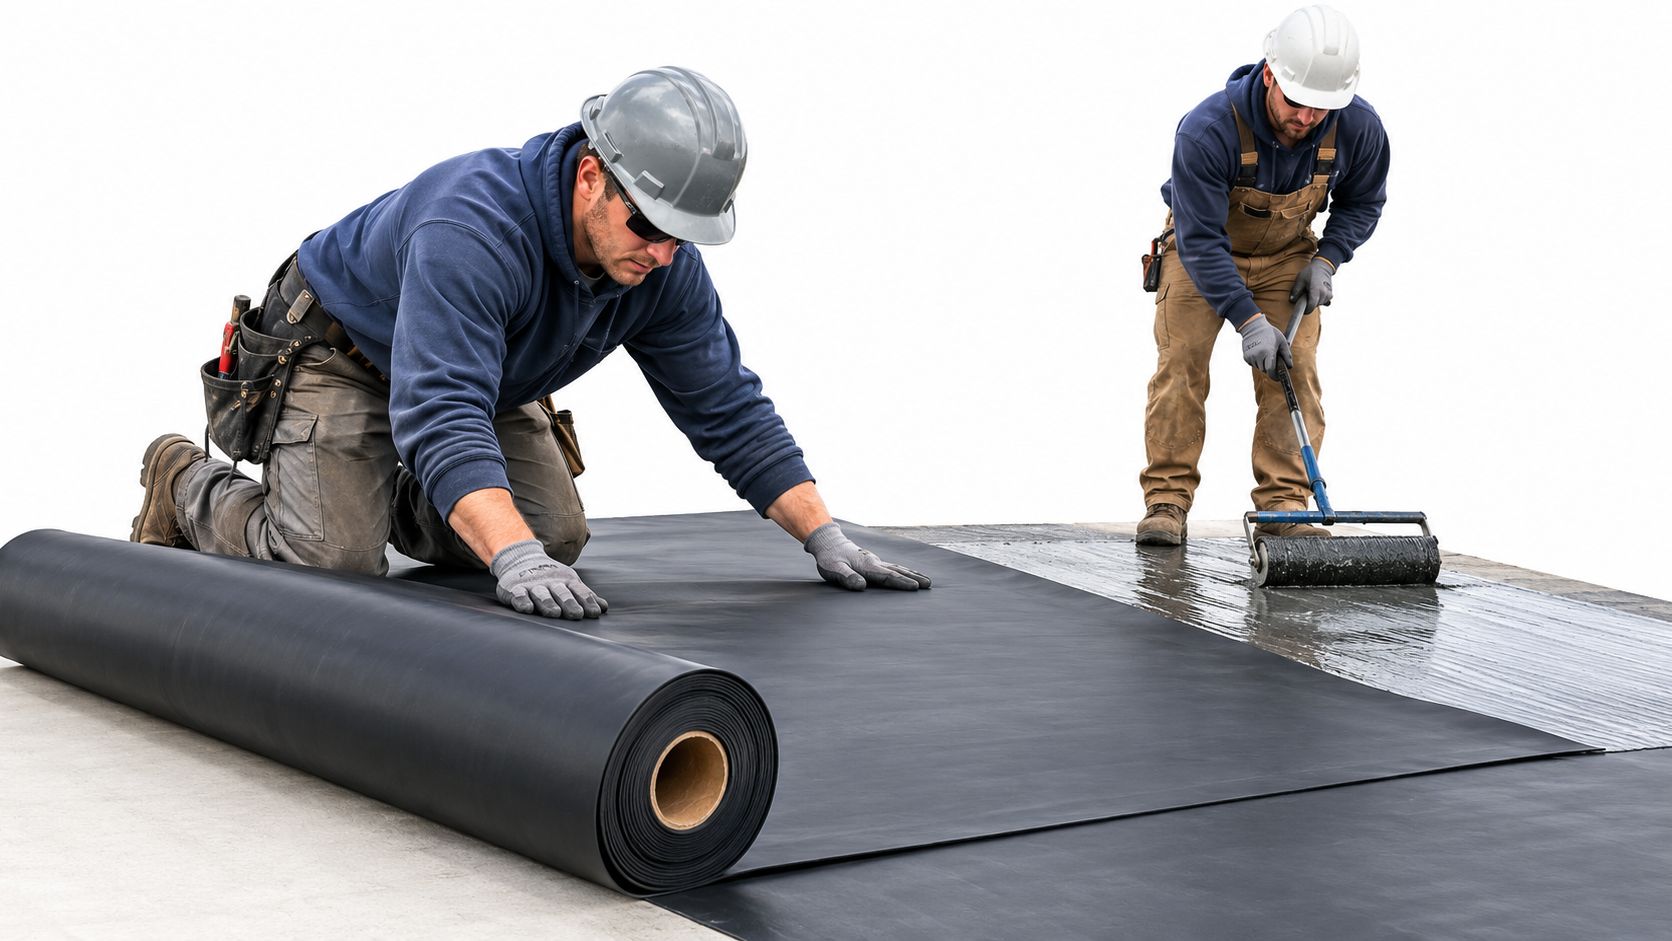
Once the roof is ready, lay out the EPDM sheet across its planned position before bonding. A dry layout exposes wrinkles, awkward transitions, and areas where the membrane is being pulled out of alignment. Make those corrections while the sheet is still movable. The installation sequence described by The Roofing Brief installation sequence provides the basic order, but careful layup is what keeps that order from turning into a rushed field operation.
Apply adhesive evenly to both surfaces
Apply bonding adhesive evenly to both the membrane and the substrate. A practical coverage control is roughly 60 square feet per gallon, using a roller and maintaining consistent coverage Johns Manville installation guide. Treat that figure as a workmanship check, not a target to stretch. Thin coverage can starve the bond. Excess adhesive leaves globs and puddles that interfere with a flat layup.
Work in manageable sections. Keep enough membrane staged to preserve access to seams and perimeter details, and avoid bonding yourself into a corner. A crew that boxes in its own work often has to drag the remaining sheet across tacky adhesive. That creates tension, trapped air, and wrinkles that are difficult to correct once the bond begins to set.
The membrane should contact the adhesive progressively, rather than dropping onto it all at once. Roll it into place, then use a weighted roller to press the sheet down and push air toward an open edge. Keep the roller moving across the field instead of forcing isolated bubbles flat with hand pressure. Air pockets left under the sheet can telegraph through the membrane and complicate later detailing.
Field rule: if the membrane has to be yanked into position, stop and correct the layout before bonding.
DFW roofs also expose poor layup quickly. Large warehouse sections around Denton or Euless can give a crew long, open runs, but the work still needs a controlled sequence. Set each section so the crew can place the membrane, roll out air, and retain access to the remaining work without stepping across freshly bonded areas.
The finished field should lie flat, with no tension lines radiating toward seams, curbs, or penetrations. Those visual checks matter because wrinkles do not stay isolated. They make later seam and termination work harder, creating openings where moisture can reach the assembly.
Creating Watertight Seams and Flashing That Hold
A clean membrane can still leak after the first DFW storm if one splice was rushed. EPDM failures usually start with poor seam preparation, trapped contamination, weak rolling pressure, or a termination that was closed before the bond was ready. The rubber is forgiving. Workmanship is not.
Clean, prime, and overlap correctly
Keep a clean rag, primer, and seam roller beside the work area. Remove dust and residue from both surfaces, apply the specified adhesive or primer evenly, and wait until it is tacky without stringing before bringing the materials together. The seam should overlap at least 75 mm, or 3 inches, with the splice area cleaned and primed before closure, as outlined in the Home Depot EPDM installation guide.
Do not brush bonding adhesive into an area that is meant to receive seam tape. Keep coverage even, without globs or puddles. Excess material can slow curing, while thin spots leave the splice short on bond strength. Set the membrane gradually, then roll the seam firmly to remove air and establish continuous contact.
Probe every splice with a seam roller or approved probe after closure. Document primed areas before the tape is covered. DFW wind events can push dust into an exposed splice faster than crews expect, especially on open commercial roofs around Denton, Euless, or other exposed parts of the metroplex. If contamination reaches the bonding surface, stop and clean it instead of sealing over it.
Mechanical fastening still has a place
Where the assembly calls for mechanical fastening, install in-seam plates at 300 mm, or 12 inches, on center, with the plates positioned 75 mm from the membrane edge. Fastener spacing must match the calculated zone loading, particularly at exposed roof areas where wind uplift can work a weak seam loose. Confirm the layout before covering the plates or closing adjacent laps.
The seam responds to surface preparation, pressure, and coverage, not the crew's schedule.
Apply a 3 mm bead of lap sealant along the inner edge of the seam tape. Keep the bead continuous and placed where it protects the lap without creating a lump that interferes with drainage. This small detail helps limit water entry and gives inspectors a clear workmanship check. Squote EPDM guide
Before leaving the roof, inspect every splice for lifted edges, fishmouths, wrinkles, skips in primer, and incomplete rolling. Record questionable areas while the crew and materials are still present. A seam that looks acceptable from the ground can open during heat, rain, or wind, turning a minor shortcut into an inconvenient service call.
Handling Penetrations Terminations and Edge Details
A roof can pass a field inspection and still leak around a curb, pipe, drain, or parapet. Those transitions concentrate movement, water, and wind in a small area. On commercial roofs in Forest Hill, North Richland Hills, Bedford, Southlake, and Colleyville, workmanship at these details often determines whether the roof performs or becomes a recurring service call.
Terminations need secure attachment
A proper termination is clean, primed, and mechanically secured. The membrane must finish in a detail that can accommodate movement and resist pullout, rather than looking tidy from the ground. Edge metal and termination bars require the same attention as the field seams. DFW wind can test any weak perimeter, whether the building is a warehouse, office, or retail property.
In Tarrant, Collin, Denton, and Dallas counties, confirm zone loading requirements before setting fastener spacing. Roof edges and corners experience the highest wind forces. A weak perimeter can let uplift work beneath the membrane and place stress on otherwise sound work. Follow the approved assembly and document the layout before covering it.
Fit penetrations without trapped tension
Flash each penetration with the same surface preparation used for the membrane, while accounting for the irregular shape. Clean the bonding surfaces, keep primer and adhesive off areas that must remain uncontaminated, and seat the flashing without stretching it around the penetration. Trapped tension can pull a detail loose as temperatures change. Wrinkles, open gaps, and poorly fitted corners give water a path during the first hard storm.
Drains and scuppers deserve a separate check. Keep membrane and flashing fully supported around the opening, and make sure the finished detail does not obstruct drainage. Water that sits against a poorly finished penetration exposes every small void in the bond.
Blue Lake Roofing & Remodeling uses local, licensed crews for this work. Consistent crews make it easier to repeat the same preparation, fitting, and inspection steps across a commercial roof. A changing group of subcontractors can produce inconsistent results, especially where a project has numerous curbs, supports, and edge conditions.
The final test is simple: the detail stays secure, clean, and dry after the roof is exposed to DFW weather. Inspect terminations and penetrations at close range before sign-off, because the rubber itself rarely causes the first failure. Poor preparation, movement, and missed edges do.
Final Quality Checks and Long Term Care for Your EPDM Roof
A roof is not ready for handoff when the membrane is down. The closeout must verify seams, adhesion, moisture conditions, terminations, and the work record. In DFW, heat, sudden storms, and temperature swings expose shortcuts quickly. A dry-looking surface can still hide weak bonding or moisture beneath the assembly.
What a real QA closeout looks like
Probe every seam for gaps, fishmouths, loose edges, and areas without full contact. Check that bonded laps are firmly adhered and that flashing transitions remain tight. Inspect terminations at walls, curbs, drains, and edges from close range. These details fail before the broad field of the membrane does when preparation or pressure was poor.
Record the substrate condition, installation temperatures, recent weather, and any areas that required corrective work. If rain or high humidity affected the sequence, the project file should show how the crew protected the roof and confirmed dryness before continuing. That record gives the owner a clear reference for future repairs and inspections.
QA also protects the roof's long service life. With disciplined installation, inspection, and maintenance, EPDM can remain in service for decades, as noted in the EPDM Roofing Association service-life report. The rubber matters, but workmanship determines whether water reaches the insulation through a seam, termination, or penetration.
Maintenance note: Find and correct small defects early. A roof checked on a schedule is less likely to turn a minor opening into wet insulation or an interior leak.
Protect the investment after the job
For property managers across Fort Worth and the DFW metroplex, keep the closeout photos and weather notes with the roof records. Clear drains, inspect after severe storms, and look for seam lift, damaged flashing, ponding, and blocked scuppers. Schedule repairs before tenants report staining or wet materials.
Blue Lake Roofing & Remodeling provides EPDM service across Tarrant, Collin, Denton, and Dallas counties. The company can inspect seams, terminations, and moisture concerns, then explain whether repair or replacement fits the roof's condition.
If you need a roof evaluation, repair scope, or replacement plan for a low-slope building in Fort Worth, Arlington, Dallas, or nearby cities, visit Blue Lake Roofing & Remodeling for a commercial EPDM assessment.
